 SPEAK TO US
 My Account


Here at Smiths Hire, we love a good challenge, especially when it comes to DIY. There’s just something incredibly satisfying about seeing a project from start to finish. Whether that’s some home renovations bits, a couple updates in the garden or even a task at work, sometimes being able to adapt to the situation at hand and fix a problem, or even just create something that improves your quality of life, is the most rewarding thing about being tool-savvy.
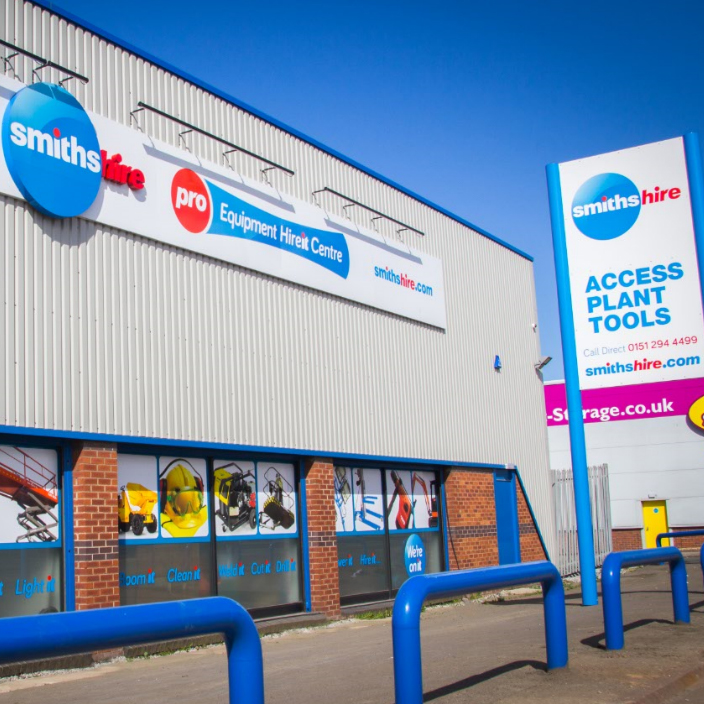
If this sounds like you, then you’re in exactly the right place! In this week’s piece we’re revealing a few sneaky secrets and tricks-of-the-trade that you can use to take your DIY capabilities to the next level. And of course, if you don’t currently own any of the tools mentioned below or you don’t want to invest permanently in new equipment, we have the solution for you. We’ve been providing our customers with efficient tool hire and powered access hire solutions for over half a century, so we’ve got you covered!
DIY tool organiser
Every avid DIY fanatic needs somewhere to put their equipment at the end of the day – or even when they’re just not in use. Especially for the tools that have smaller parts that seem to go missing every time you turn around (we’re looking at you, drill bits). A tool box is good enough for a few pieces, but if you’re a trade professional or a particularly keen DIY enthusiast, you’ll probably have loads of equipment to work with – so what’s the best way to store it? Why, with your own DIY tool dock!
Tools and materials needed:
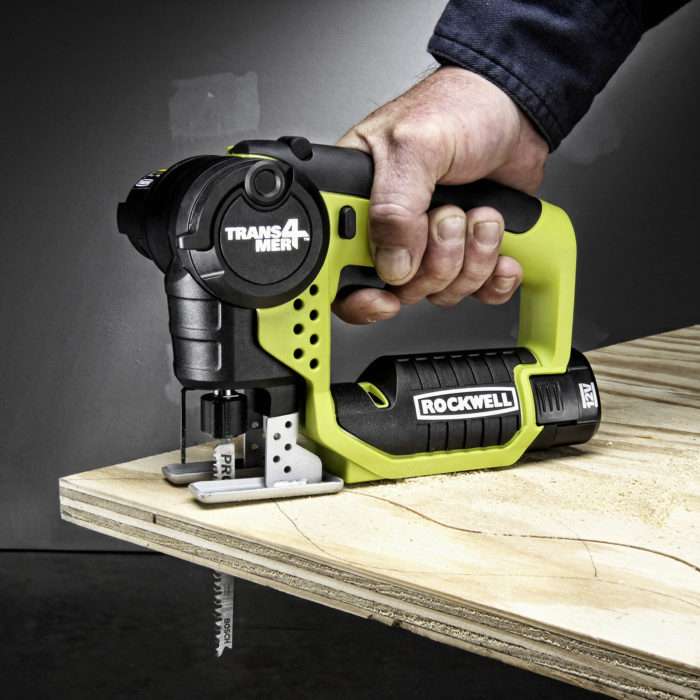
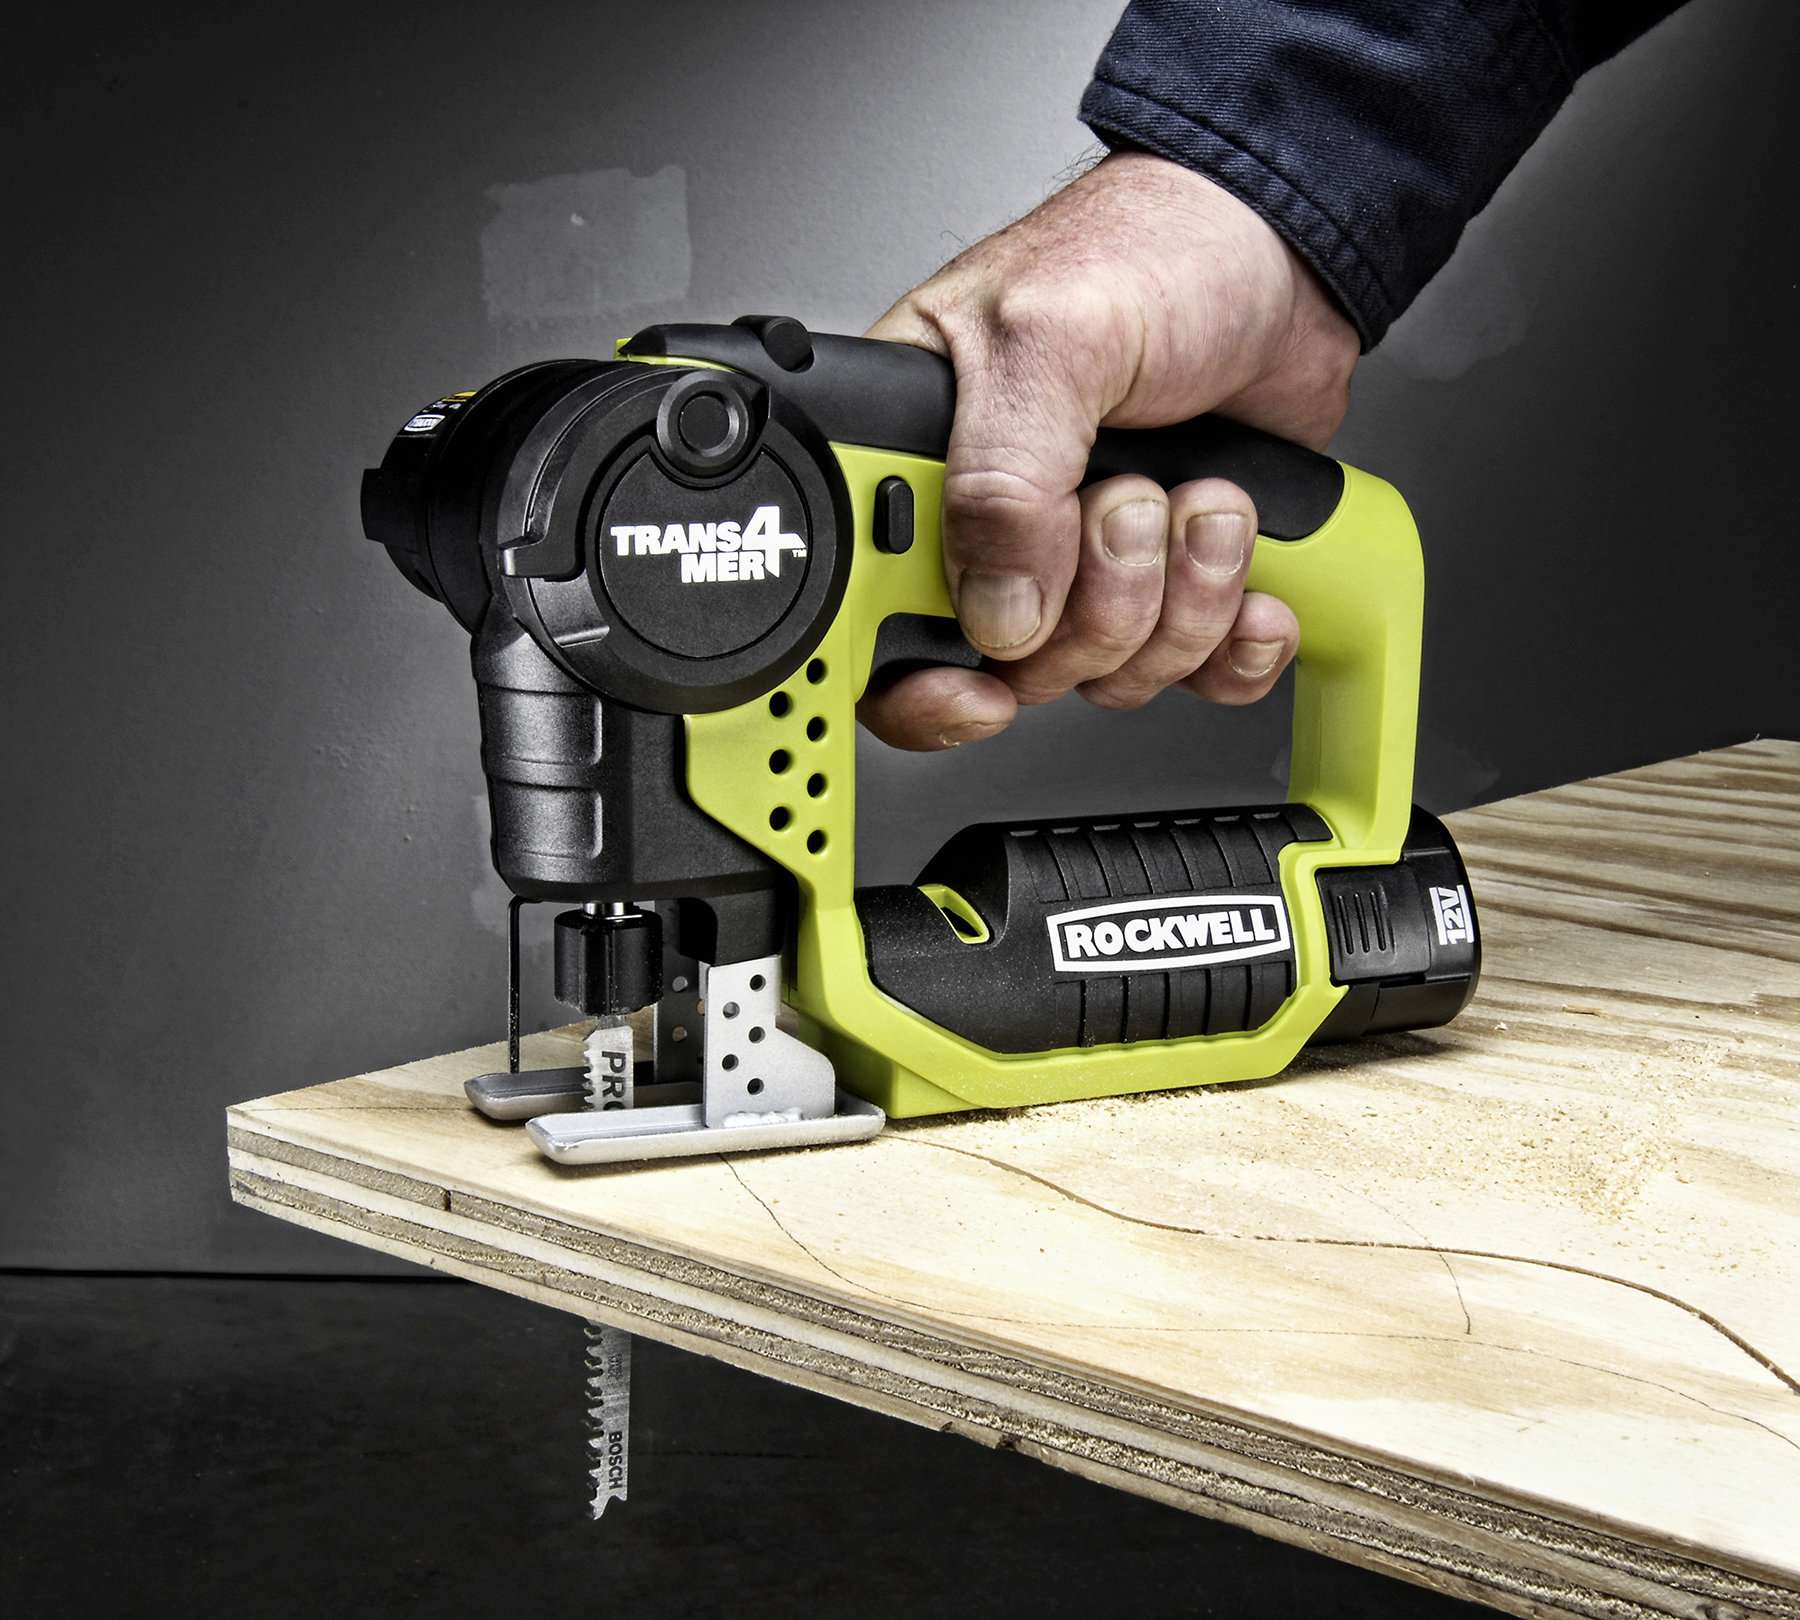
- 24V Jigsaw
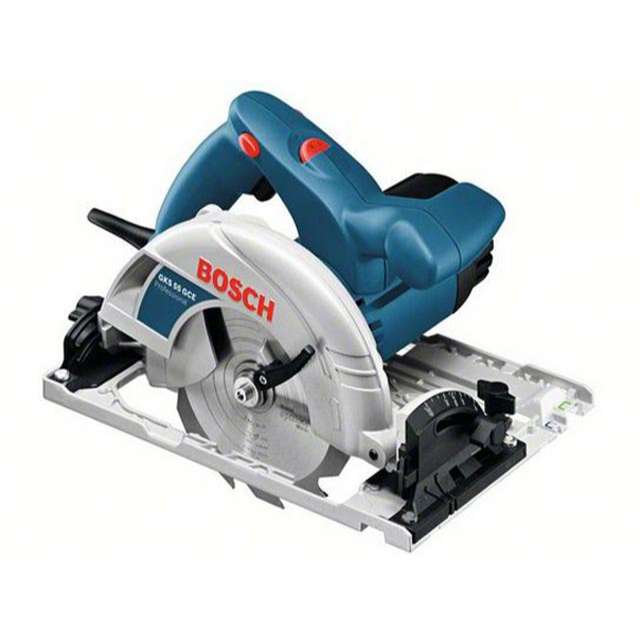
- Circular saw
- Cordless / battery drill and charger
- Hardwood boards / spare wood
- Clamp
- Sharpie
- Screws
- PVC piping 1-2 metres (depending on how much you’re hanging)
You’d be surprised what you can knock up with a few spare pieces of wood and an hour or two! Start by constructing a simple wooden shelf – ideally with sides and a small upward lip at the end to stop your smaller pieces, nails and screws rolling off the sides. You could stop here and fix it to the wall, but if you want to take it one step further and hang some of your tools from the bottom, you’re going to need some PVC piping – any will do.
Simply cut the PVC to size so that the pieces fit nicely onto the bottom of your shelf and then break out your trusty clamp. Use the clamp to measure the width of your drills, hammers, wrecking bars or anything else you’d like to hang. Mark the slots on the pipe with a sharpie and cut out using a jigsaw. Fix your new tool holding holster tubes to the bottom of your shelf with nails and a cordless drill and you’re done! Now workbench clutter is no more!
DIY pallet firewood holder
While it can sometimes be tempting to chop up or throw pallets away after the end of a project, they can still have many convenient uses, like seating, storage and firewood. Keeping them as firewood can sometimes be tricky though, given the unpredictable English weather. There’s nothing worse than coming home from work, going to chuck a few logs on the wood burner only to find out that the wood is damp and won’t catch. So, what can you do to rectify this? Easy – use the leftover wooden pallets to build yourself a firewood holder.
Tools and materials needed:
- Circular saw
- Cordless / battery drill and charger
- Orbital Sander (optional)
- Wooden pallets
- Corrugated sheet of PVC
- Screws
- Paint or sealant (optional)
You’re effectively assembling a box. Make sure to add some extra planks of wood into the gaps in the pallets so no water can get inside your new storage rack. You can make it as big or small as is convenient for you – you could even add a few shelves so you can separate the wood by size.
Because it is made out of wood, it’s best stored in a shed or a garage, but if it has to go in the garden, simply cover the top with some waterproof material like a corrugated sheet of PVC and you’re good to go. If you want it to look extra professional, you can sand it down and then give it a lick of paint or wood stain. Then all that’s left to do is to stock up your firewood and use it to your liking!
The secret to removing scratches on wood furniture
Many of us have been there, tinkering away with the tools or something heavy around the expensive wood floor, or the nice wood furniture while fixing something and accidentally left an unsightly scrape that sticks out like a sore thumb. Never fear though, as there is an incredibly cheap, effective and even tasty solution to this problem – walnuts. Yes: walnuts are the secret to removing scratches, scrapes and blemishes from wood. If that’s not a life hack, we don’t know what is.
Here’s how you do it: you grab yourself a walnut, break it in half so the inside is exposed and then rub it back and forth across the scratch on your furniture or floor for around 30 seconds (or as long as it takes for it to disappear). Then give the area a gentle polish with a microfibre cloth.
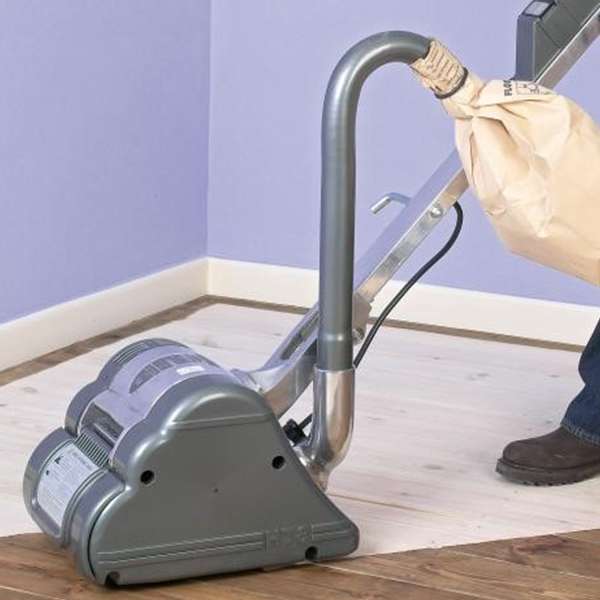
The natural oils from the walnut will seep into the wood and help to heal any unsightly marks and make them practically invisible. This trick works best on finished wood and light scratches. Unfortunately, if you’ve taken a chunk out of the table, wood filler is probably your best bet but if it’s a wooden floor then you may need to hire one of our quality Floor Sanders to rectify the situation, these are available as a separate Floor Sander or Edger or jointly as a complete Floor Sander & Edging Kit.
Now you’ve got a few more tricks up your sleeve, you can do more with less! And if you need the right tools to get the job done, that’s where we come in. For over half a century we’ve been providing quality equipment and tool hire to our customers all over the country. We currently have 16 depots across the North West and Yorkshire, including major cities such as Manchester, Liverpool and Leeds. If you need some assistance, give our friendly team a ring on 0333 323 2100 and our experts will be happy to advise you!