The choice of fencing can have a surprisingly big effect on the overall look and feel of an outdoor space, and slatted fencing can provide an excellent way to distinguish the appearance of yours. So if it’s something you’ve set your sights on this summer, you’ll be pleased to hear that with the proper planning, it can be a surprisingly straightforward job! And if you’re just looking for the best way to get started, we’ve put together this quick guide to building your very own slatted fencing. Here’s how to tackle the project effectively!

Start by preparing your space
As with so many DIY projects, proper preparation is absolutely vital – it can save you a lot of time and effort in the long run! So, first things first; you’ll want to make sure that you’ve got all the necessary tools. Here’s what we’d suggest, as a bare minimum.
Tools you’ll need:
- Tape measure
- Spirit level
- Post hole borer (digger) or spade
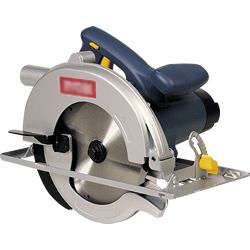
- Saw (either a circular saw or hand saw)
- Electric screwdriver
- Hammer or sledgehammer
- Sandpaper or sander
- Paintbrush or roller (if staining or painting)
- Safety gear (gloves, goggles, etc.)

On a similar note, now let’s move on to the type of materials you’ll need!
- Fence posts (timber or metal)
- Horizontal rails (timber)
- Slats (timber)
- Concrete or post mix (for setting posts)
- Screws or nails
- Wood treatment or paint (optional)
 Once you have your tools and materials, you’ll want to begin by measuring and marking out the fence line. It tends to be easier to use a tape measure to determine where the posts will go, and use a string line or marking pins to ensure the line is straight. Clear the area of any vegetation, debris, or obstacles to ensure a smooth and safe installation process.
Now, here’s an absolutely vital point that it can be unfortunately easy to overlook – before you start digging any holes for your fence posts, you need to be one hundred percent certain that you’re not going to strike any underground utilities or cables. Not only can it be expensive in the long run, but it can also be incredibly dangerous. If you’re in any doubt, one of the best ways to get complete peace of mind is to contact your local utility company. It’s true that it can sometimes create slightly annoying delays, but it’s really not worth taking the risk!
Now to get building your slatted fence!
Once you’ve got all your tools and materials to hand, you’ve prepared the area, and you’re certain that you’re not about to strike any utilities, you’re now ready to start building your fence in earnest. It’s generally best to set aside at least a few good afternoons or weekends to do this, depending on how big your garden is! It’ll be much easier to rely on decent, long-lasting results if you work in dry weather – the job isn’t impossible if it’s raining, but you may find it’s a lot more tricky!
Right then, so let’s go through it step by step –
- Building the fence posts
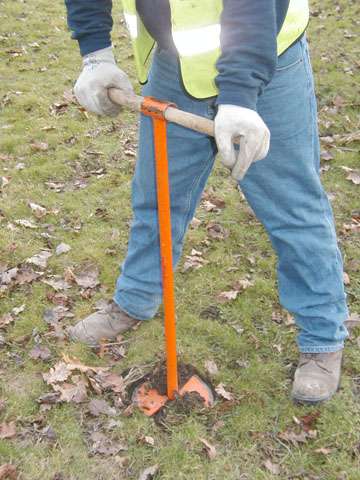
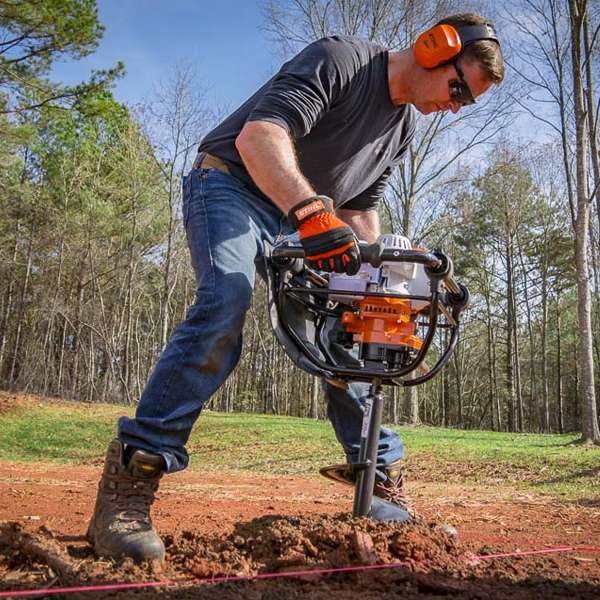
Start by digging holes for your fence posts. The depth of the holes should be about one-third of the post length, and the width should be roughly twice the diameter of the posts. Place each post into the hole, and before you move on, don’t forget to check that it’s level using a spirit level. Secure the posts in place with concrete or post mix, making sure to allow it to set properly according to the manufacturer’s instructions before proceeding to the next step.

Manual post hole borer

1-man petrol post hole borer
- Attaching the horizontal rails
Once the posts are securely set, attach the horizontal rails. These will end up providing the framework for the slats, so they’re essential for the stability of your fence. Fix the rails to the posts using screws or nails, ensuring that they’re level and evenly spaced. Again, it’s important to periodically check the alignment of the rails with a spirit level to avoid any unevenness in the final structure. It’s one of those situations where even small mistakes can quickly end up causing very big consequences further down the line.
- Cutting and attaching the slats
Next, it’s time to cut the slats to the desired length. (It’s worth noting here that you can adjust the spacing between the slats for privacy and style, depending on your preferences.) Then attach the slats to the horizontal rails, ensuring they’re evenly spaced and properly aligned. Use screws or nails to secure the slats in place, and pre-drill them if necessary to prevent splitting.
- Finishing touches
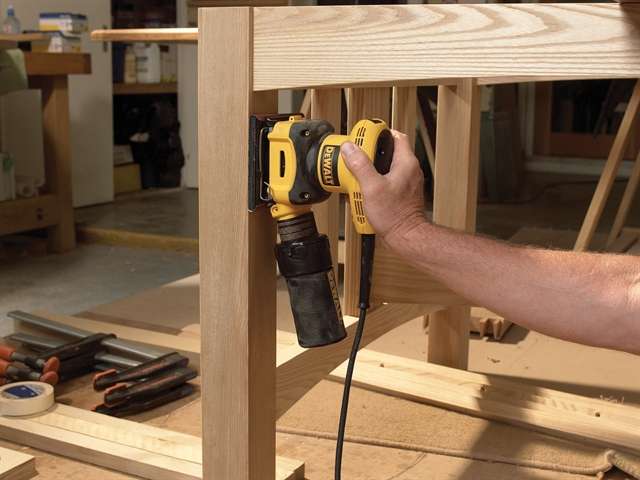
After the slats are attached, smooth any rough edges or surfaces with sandpaper (or a sander) to prevent splinters and create a nicer finish. If you’ve chosen to treat or paint the fence, this is the best point to apply a wood treatment or paint to protect it from the elements. Before you put any brushes to wood though, make sure to check the manufacturer’s instructions for application, and allow the treatment or paint to dry completely.

Our top tips for staying on top of slatted fencing maintenance
Once you’ve finished putting up your slatted fence, it’s always a good idea to immediately start planning a maintenance schedule – you won’t want all your good work to go to waste! Ideally, it’s best to inspect the fence periodically for any signs of damage or wear, such as loose slats or deteriorating wood. While you’re at it, you can clean the fence with a mild detergent and water to remove dirt, grime, and algae build-up. (Don’t forget to avoid using harsh chemicals that could damage the wood.) This shouldn’t need doing too often – a couple of times a year at most.
In the longer term, make sure to reapply wood treatment or paint every few years to maintain protection against weathering. If you notice any areas of damage or rot, take care to address them promptly to prevent further issues. Sand down any rough patches or splinters to keep the surface smooth and safe. And of course, check for and remove any debris that could trap moisture and lead to any deterioration in the wood.
That’s all the essential steps covered! If you ever need any help or advice, you can always feel free to speak to a member of our friendly team. With a legacy of over half a century here at Smiths Hire, we’re the go-to destination for quality equipment and tool hire for both DIY enthusiasts and tradespeople. Our 17 depots are strategically located in the North West and Yorkshire, including major cities like Manchester, Liverpool, and Leeds. For any assistance, our friendly team is just a call away at 0333 323 2100.

 SPEAK TO US

 My Account


