 SPEAK TO US

When it comes to DIY, if you’re tool-savvy, many home renovation projects are more straightforward than you’d think. All it takes is a bit of know-how, the right tools and some consideration. There’s nothing we love more than providing the necessary resources to help our customers get the job done. Whether it’s via our premium tool hire services or simply by giving helpful information, and today, we’re diving deep into tile strippers.
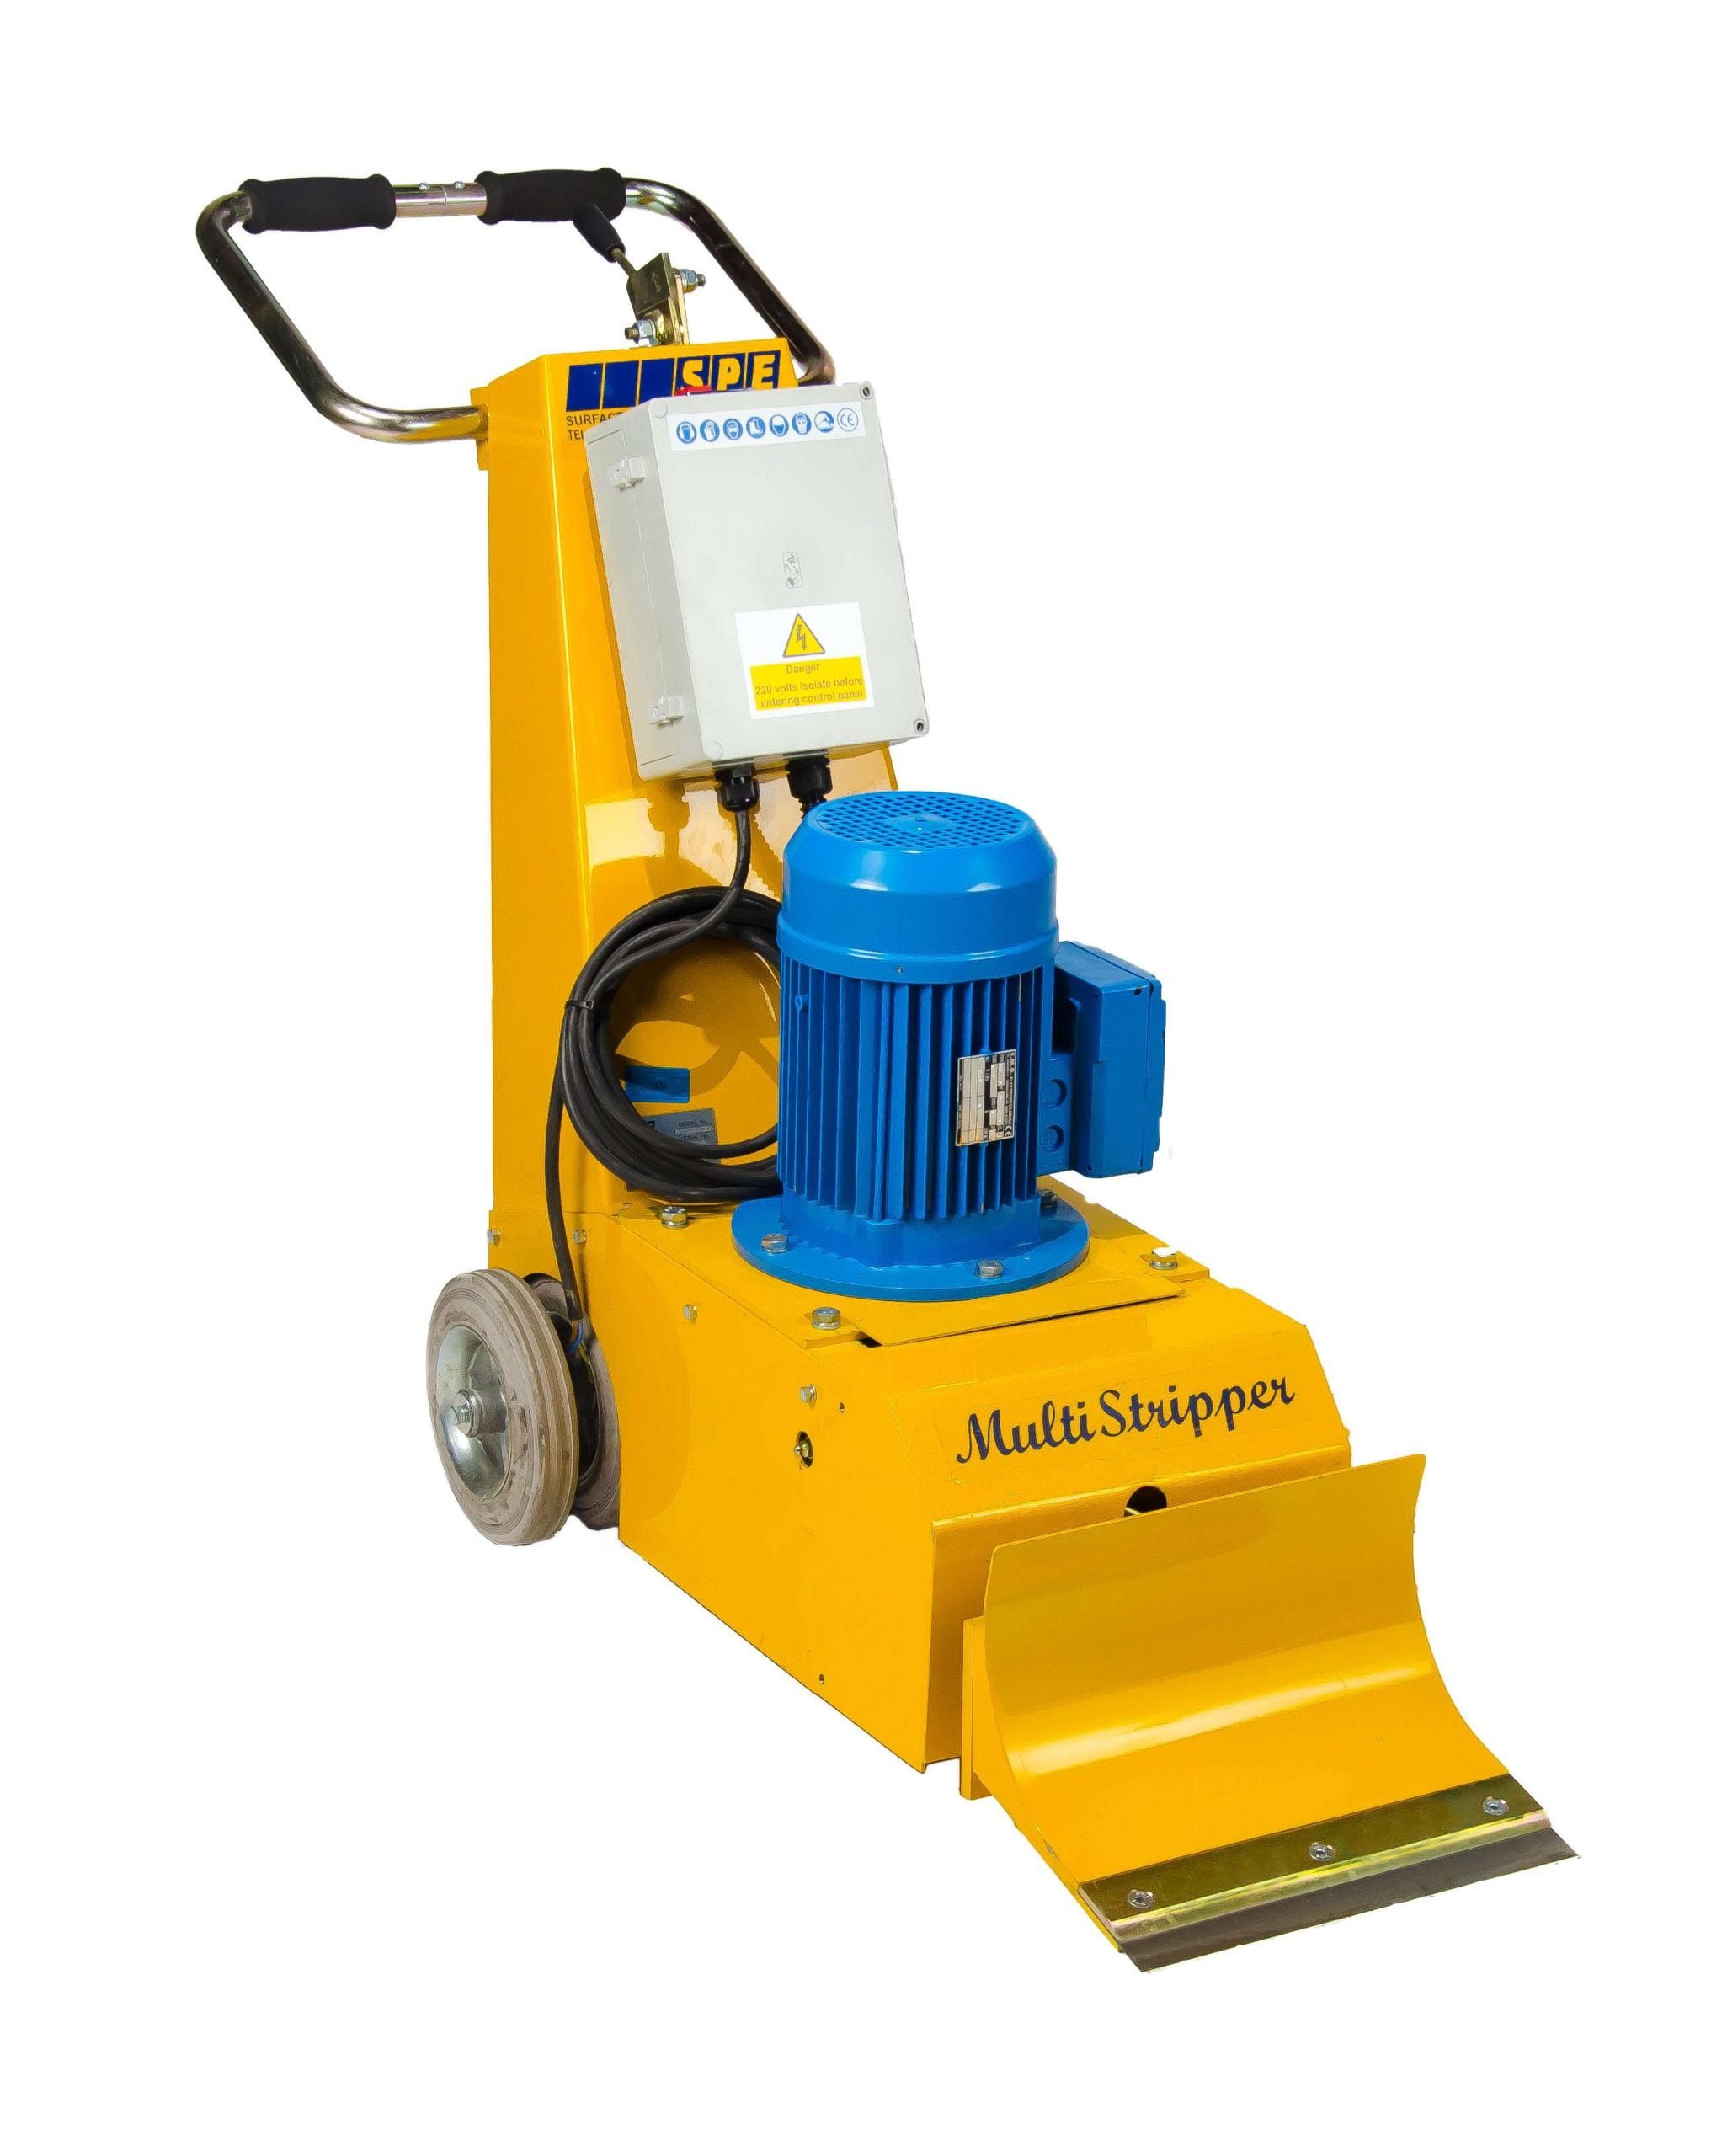
If you’ve got a kitchen or bathroom project in the near future, chances are you’ll want to strip off some old tiles to make way for your new décor, and if you’re wondering ‘what is the best tool to remove floor tiles?’ the answer on this occasion is a floor tile stripping machine. Instead of taking tiles off one by one with a hammer and chisel, you can make short work of larger areas and practically cut the job in half. However, it is necessary to take the relevant precautions when working with tile strippers to ensure you get the job done safely and effectively.
Safety equipment you’re going to need
If you’re going to do the job yourself don’t forget the safety equipment! You must take the necessary precautions to avoid injury while completing any job that involves potentially dangerous equipment in order to make the process less hazardous.
So, before we jump in, here’s everything you’re going to need:
- A dust mask – it’s vital that you mind the dust when stripping tiles. Regularly breathing in dust can cause numerous ailments such as COPD, asthma, silicosis and even cancer.
- Hearing protection – protecting your ears when working with loud power tools is a necessity. Continual exposure to loud noises while working can eventually lead to hearing loss, so it’s always better to be safe than sorry!
- Protective eyewear – always wear eye protection that shields your eyes from all angles when working with anything sharp like tiles. They’ll protect your eyes from any bits of ceramic or porcelain that may shoot off from the wall or floor.
- Specialist gloves – you need to protect your hands for the same reason as protecting your eyes – the sharp bits of tile can cause nasty cuts. So slip on some specialist gloves!
- Kneepads – when kneeling on the floor for large amounts of time, you’ll need to wear kneepads compliant with EN 14404, which ensures they meet the minimum protection requirements.
How to prepare your working area
Like any other flooring project, the first job on the list is to clear the room from any obstacles, like furniture and fixtures, to give you the optimum space to work. The next things to consider are your doors and skirting boards. The tile is sharp, and leaving them on puts them at risk of getting chipped or snagged, so it’s best just to remove them. Anything that can’t be removed should be covered with a plastic sheet to protect it from dust and shards. Finally, always wear your safety equipment and dress appropriately, such wearing as long-sleeve tops, pants and steel toe-capped boots to protect the rest of your limbs. Likewise, if you have longer hair, make sure you tie it back before starting.
Get stuck into tile stripping
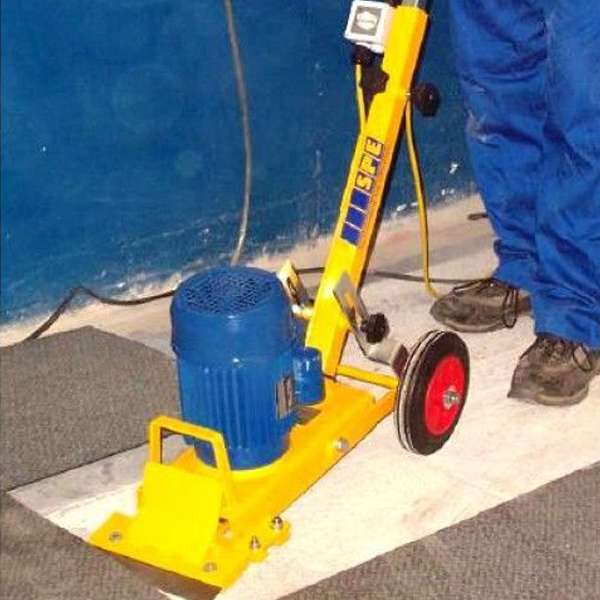
Now that you have all the safety equipment you need and you’ve prepared your space. It’s time to bring in the tile stripper and start stripping! It’s important to handle the equipment properly and with care. *Please note that you should never attempt to use a tile stripper if you are feeling unwell either.
You may need to manually remove a piece of the tile or some of the grout from the perimeter of the room to give your tile stripper a place to start.
Then, place the tile stripper against the exposed tile edge and turn on the machine. Slowly push the blade forward – almost like you’re moving the lawn, and it will start to separate the tile from the floor. Keep doing this until you reach the far wall of the room. After lifting one section, turn off the machine and clear away the debris to lessen the risk of tripping or cutting yourself on the shards as you work, then use a vacuum cleaner to rid the room of excess dust. Then, return to your original starting point and repeat the process until the room is clear. And that’s all there is to it. Providing you undertake the job with care, use the right equipment, and apply proper knowledge, your floor will be ready for a fresh set of tiles in no time!
Now, these are just the basic guidelines you need to follow; if you’re unfamiliar with the machines or you think you’d benefit from any additional advice, then feel free to contact our experts, and we’d be happy to advise!
At Smiths Hire, we’ve been providing quality equipment and tool hire services to the DIY and trade sectors for over 50 years. Operating from 16 tool hire depots across the North West and Yorkshire, including several major cities like Manchester, Liverpool and Leeds. So we’re the ones to call if you require any assistance. If you have any questions, don’t hesitate to call our team on 0333 323 2100! We’re here to help!