Wall panelling is a beautiful way to add visual interest to any room in your home. It adds depth to your space and can turn what once was an unassuming blank wall into an eye-catching feature. They’re excellent if you have a slightly imperfect wall that you’d like to cover up too. Even better than that, it’s actually quite easy to do this DIY job if you have the right tools! If you’ve been looking for a stylish way to add a bit of extra oomph to your walls, we’ve put together this quick guide to panelling your own walls at home.

What you need
Panelling a wall is a relatively simple task for which you don’t need many supplies. Depending on whether you’re buying a kit with everything you need or sourcing it separately, your list of tools and materials may look slightly different. But here’s what you’re going to need for this guide:
- Wall panels of your choice
- Measuring tape
- Level
- Pencil and ruler
- Adhesive
- Mitre saw or circular saw
- Sandpaper / palm sander
- Paint or stain
- Caulk
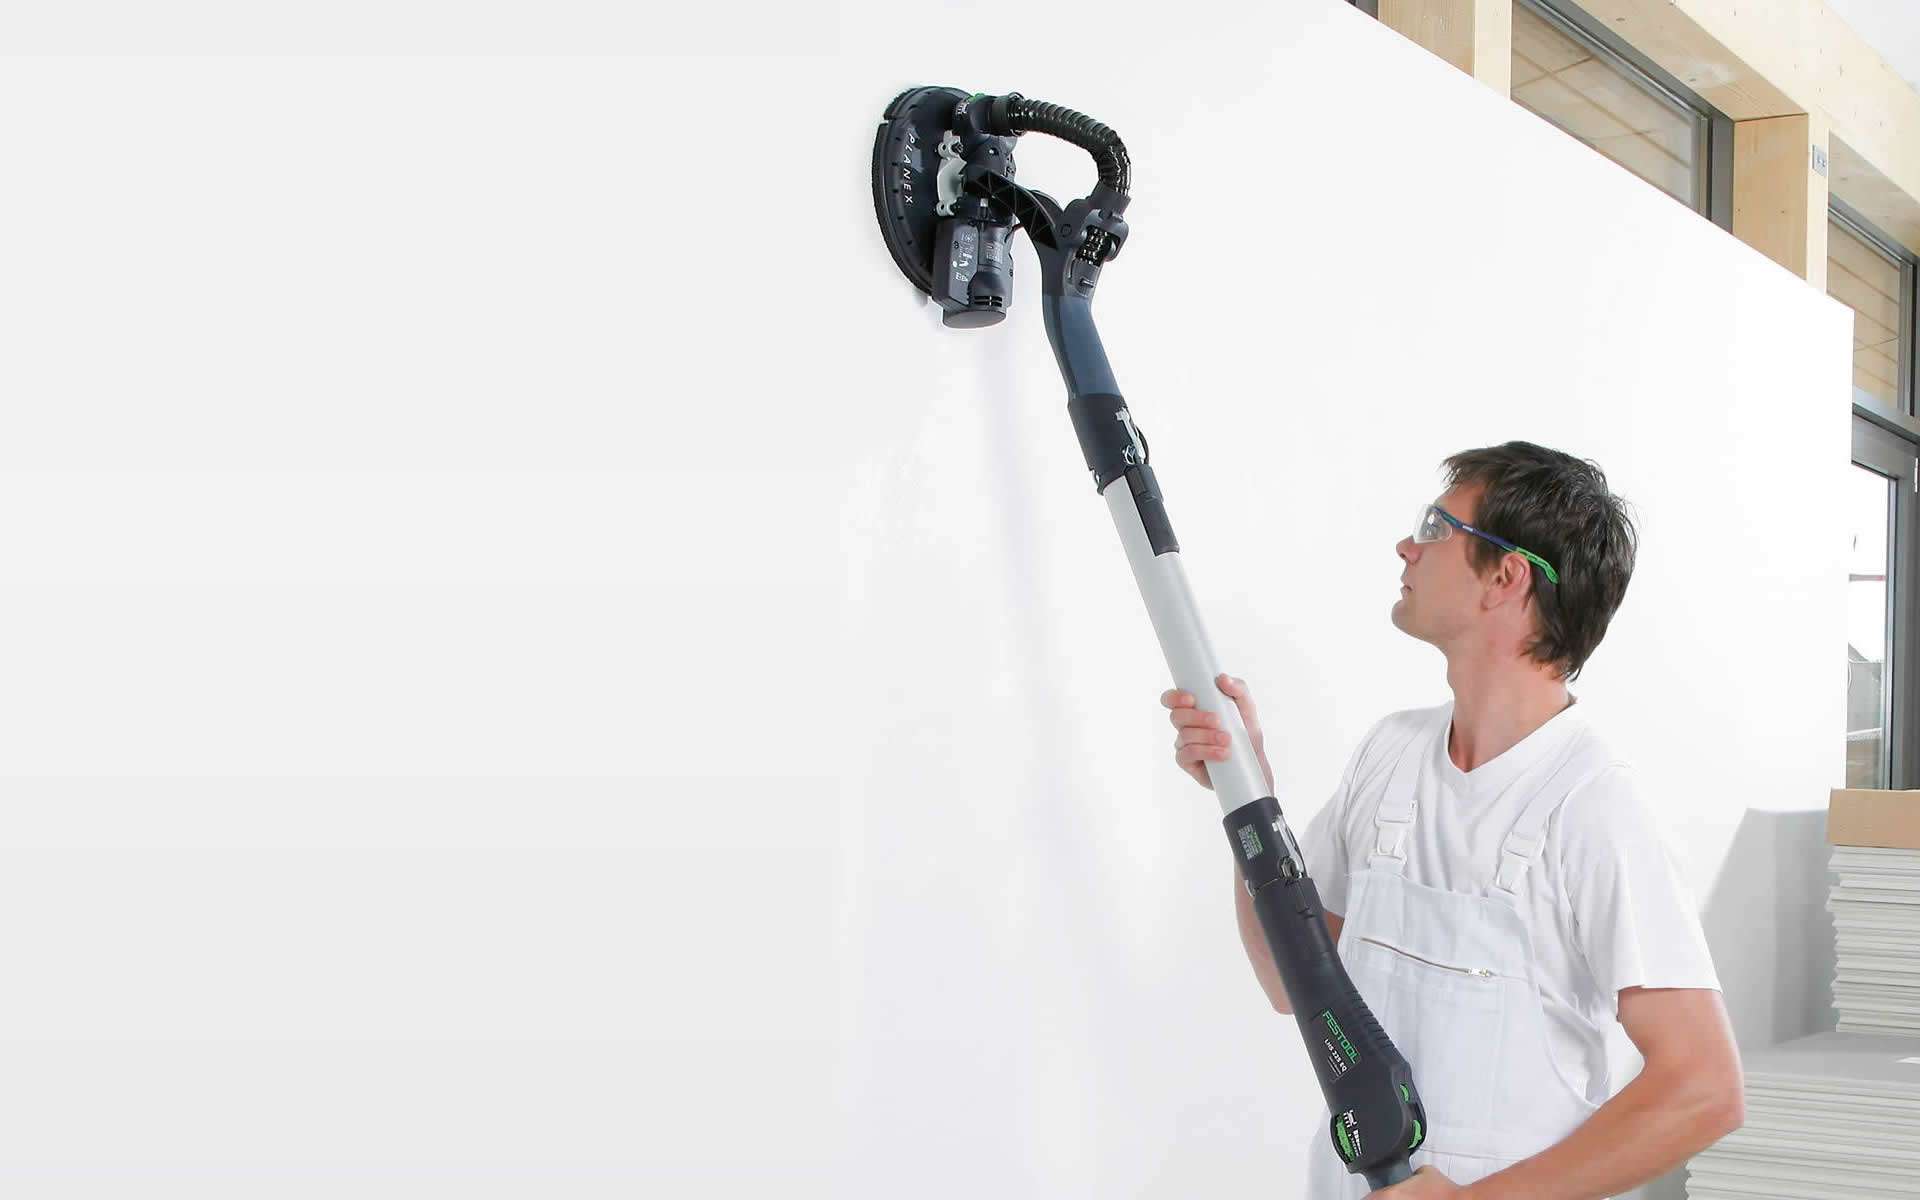
Now that you know what you need, let’s jump right into DIY. First things first, make sure your wall is free from lumps and bumps (if it’s particularly bumpy you may want to consider using our Drywall Sander), remove nails sticking out, or flaky plaster before you begin working on it—just so the finish is sleek!
Choose your panels and measure the wall
When selecting MDF panels, you have various styles available. Flat panels have become increasingly popular in recent years and offer a sleek, modern finish. In contrast, classic decorative options like beadboard or raised panels provide a more traditional feel, which is equally beautiful.
Another thing to consider when choosing your panelling is the thickness of the boards. The thinner your panels, the easier they are to install, but thicker ones can add more depth and drama – it just depends on what you’re looking for!
Before you even think about getting started with any cutting or panelling, the first thing you need to do after you’ve got all your materials is to accurately measure your wall, taking into account any obstacles like windows or doors. If possible, it’s best to work on a wall without interruptions for a smoother process and a more seamless finish. If obstacles are unavoidable, planning ahead is going to make the whole process much easier.

Drawn your panel templates on the wall
Before you start attaching your panels to the wall, it can be helpful to draw templates out on the wall using a pencil and a level. That way, you have a clear guide to follow and know they’re evenly spaced. It just takes a bit of the pressure off! You’ll also be able to get a feel for how the space looks on your wall, which is handy. By visualising the layout in advance, you can make any necessary adjustments before applying adhesive for a smoother, more precise result.
Cut your panels down to size
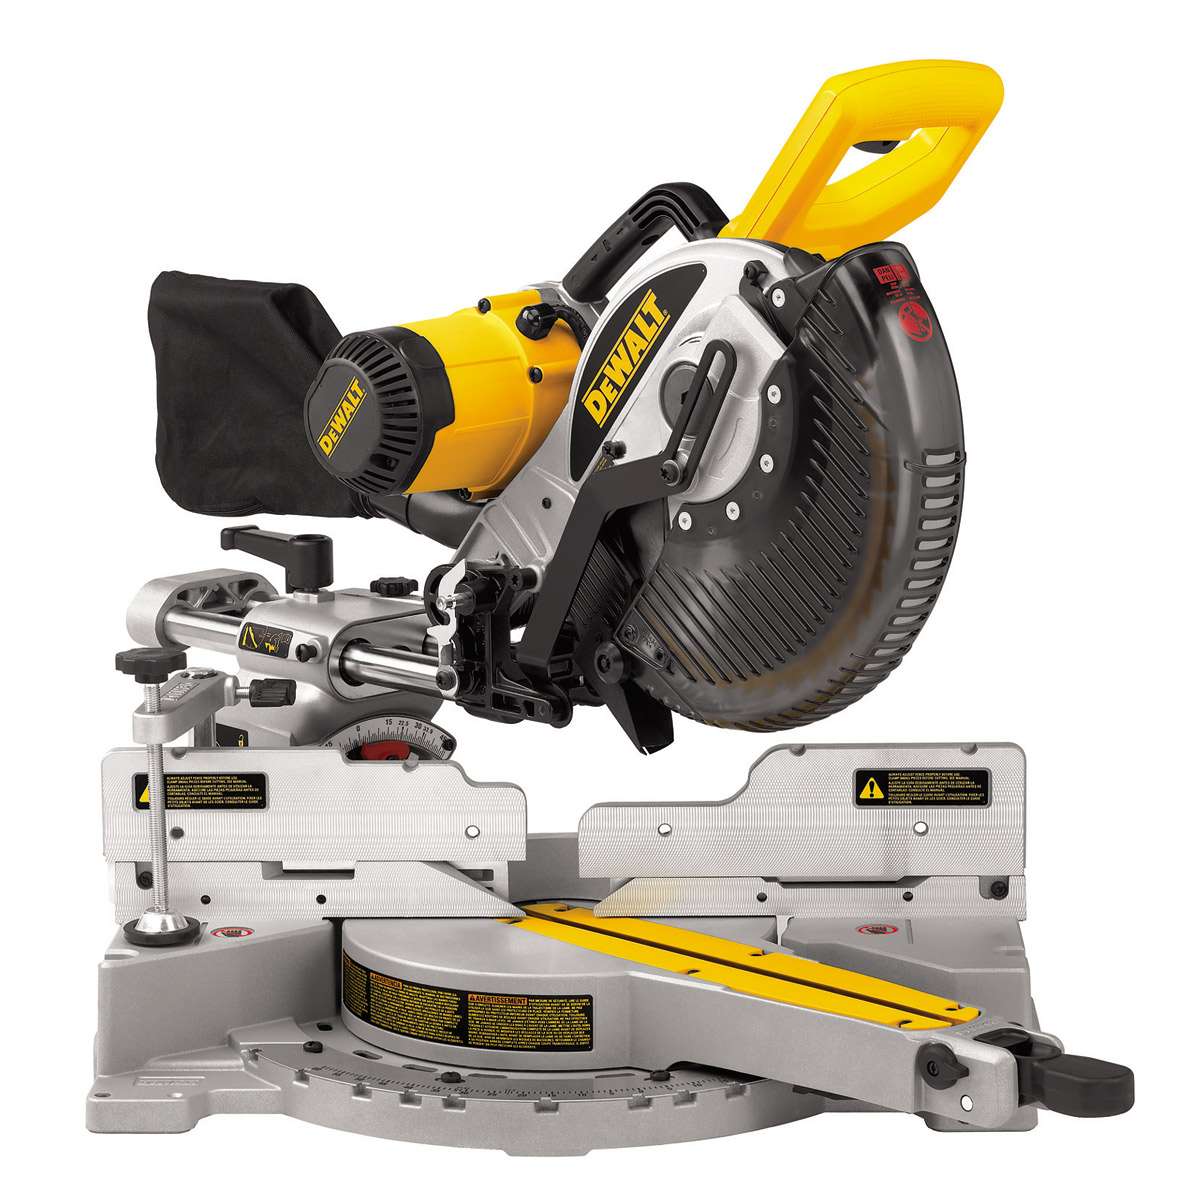
If your MDF panels don’t perfectly match the height or width of your wall, you’ll need to cut them to size for a custom fit. Start by measuring and marking the areas where you need to cut – remember, measure twice, cut once! To trim panels to the correct dimensions, use a mitre saw or circular saw. These saws are ideal for making straight cuts across the panels. Take your time during this step, as a clean, even cut is essential for a professional-looking finish!
Applying the adhesive and attaching the MDF panels
Now it’s time to get those panels on the wall! Start by using a strong construction adhesive – MDF panels can be heavier than they look, so you’ll need something with a firm grip. Apply the adhesive in vertical stripes or zigzags on the back of each panel, making sure it’s evenly spread. Be generous but not too heavy-handed; you don’t want it oozing out the sides, but you also don’t want the panels falling off!
Once you’ve applied the adhesive, press the panel onto the wall following the template you’ve drawn yourself, starting from a corner or the top edge. Grab a level to make sure everything is nice and straight throughout the process. Press firmly across the entire surface to help the adhesive bond properly to the wall. If your panel’s a bit hefty, hold it in place for a few minutes or prop it up until the adhesive starts to set, and always follow the instructions on the adhesive for the best results.
Keep going with the rest of the panels, making sure each one fits snugly against the next. If you’re using decorative panels with grooves or patterns, take a little extra care to align everything perfectly. And don’t forget to check that each panel is level before the adhesive dries!
Filling any gaps and sanding for a seamless finish
Once all your panels are securely in place and the adhesive has dried, it’s time to check for any small gaps between the panels or along the edges where they meet the wall. Don’t worry – gaps are totally normal! To fix them, take some caulk or filler along the seams and use your finger to smooth it out. This will give your wall a smooth, professional-looking finish. Once the caulk dries, those gaps will practically disappear.
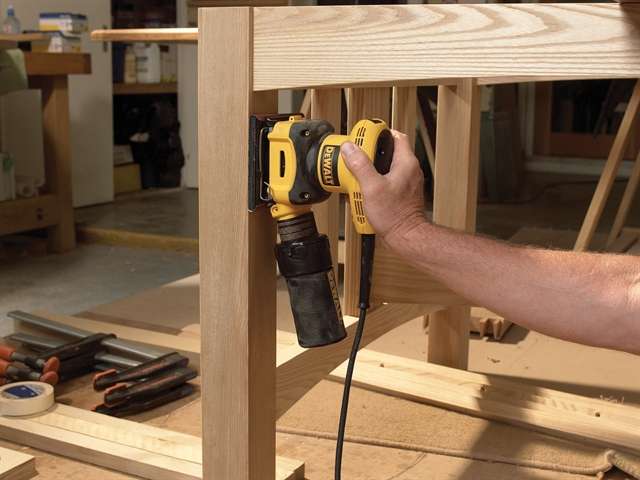
After the caulk has set, sand down any rough spots or uneven seams, this step is important if you’re planning to paint the panels because you want the surface to look smooth once you’ve painted it. Use some fine-grit sandpaper or a palm sander and gently buff over the edges and seams. Be careful not to scratch or scuff the panelling, and wipe any dirt.
Painting or staining your panelling
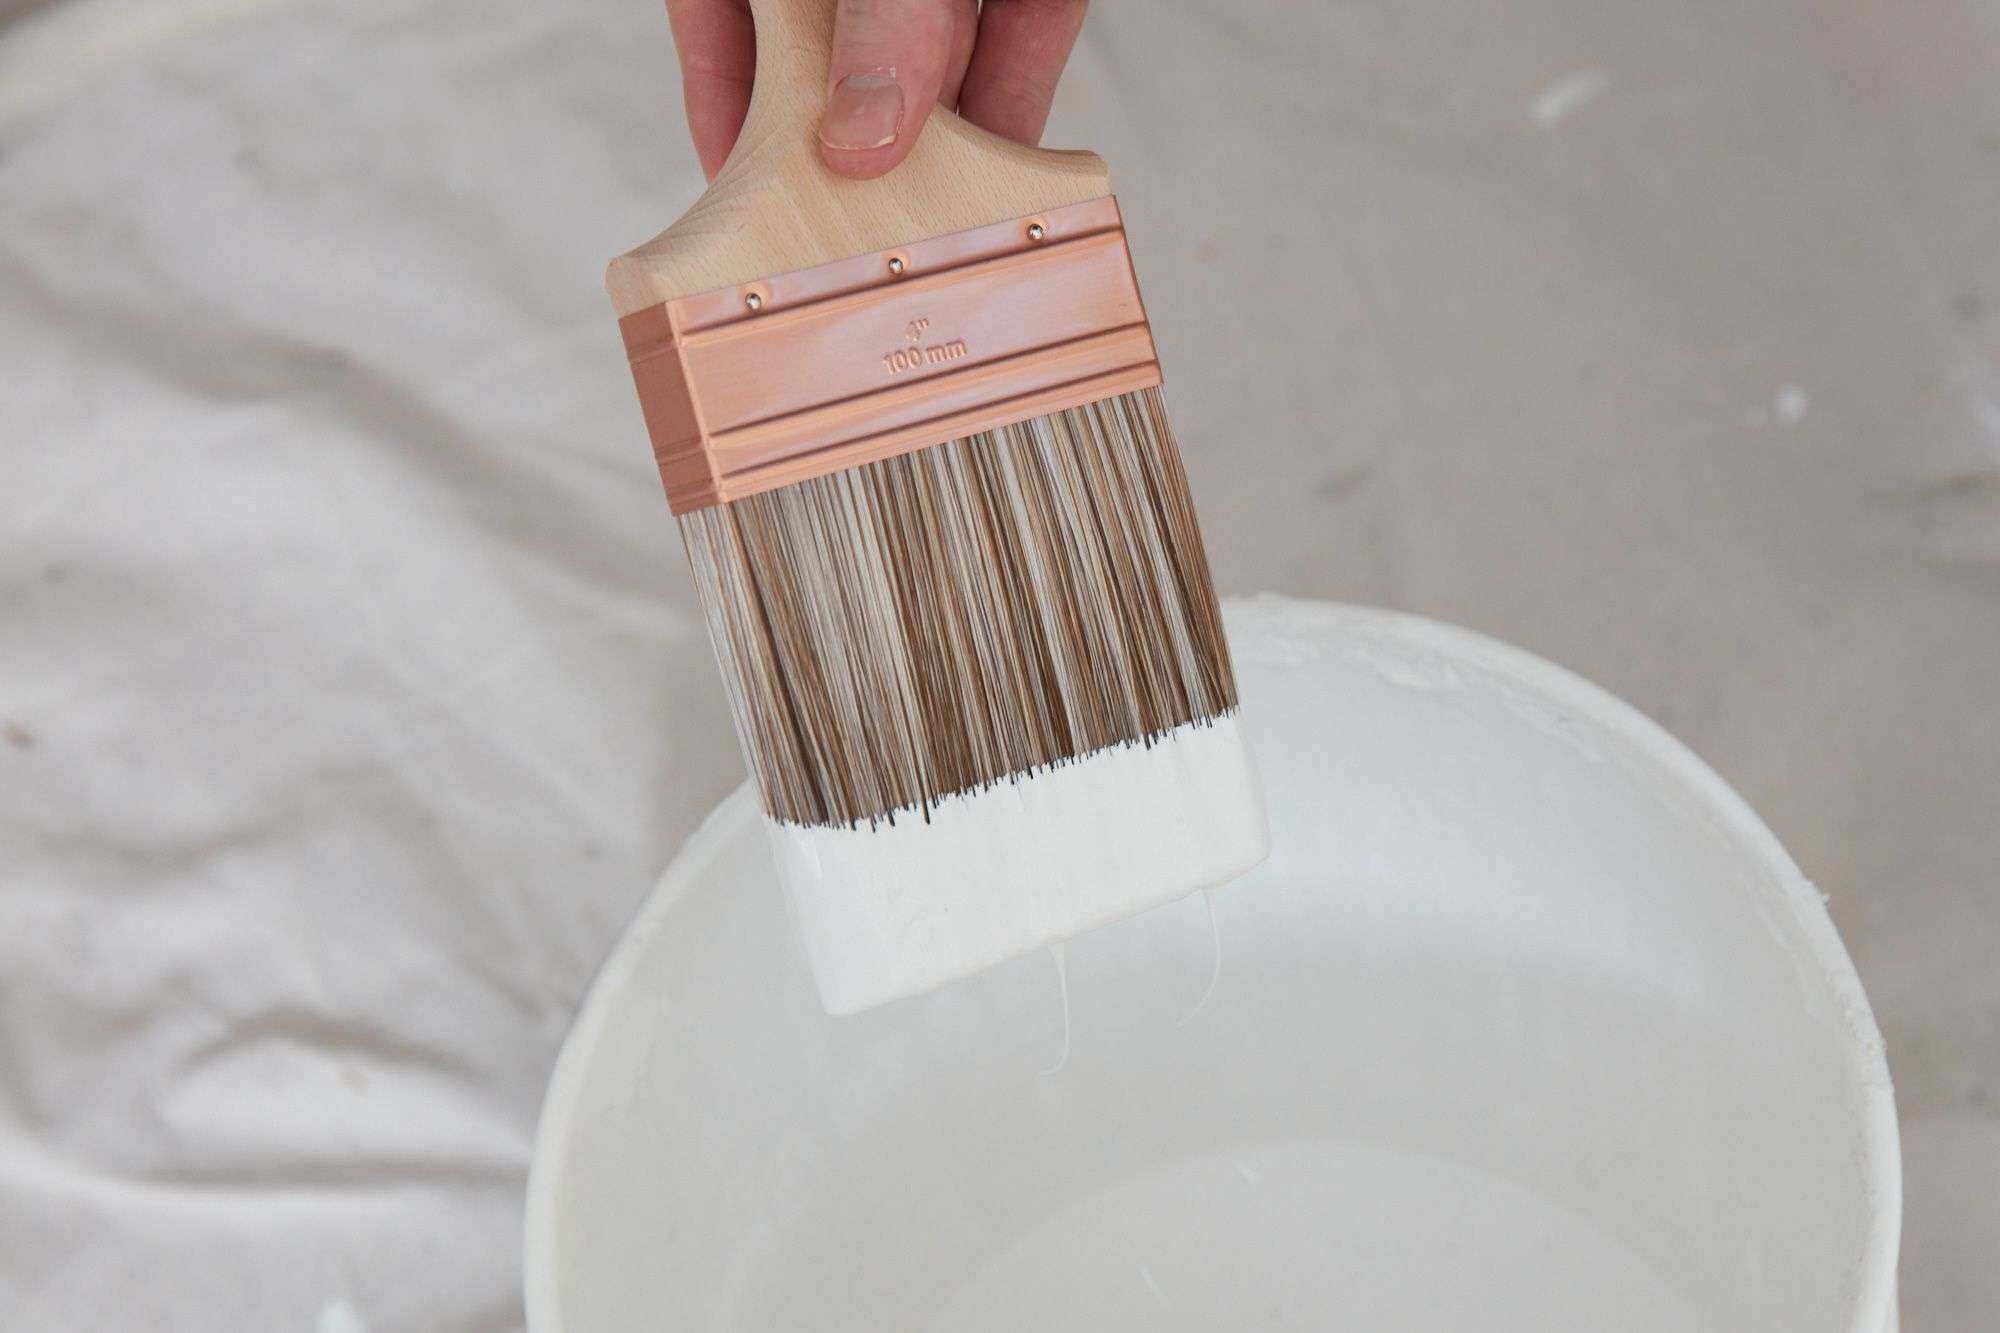
One of the perks of using MDF is its wonderfully smooth surface, which makes it ideal for painting or staining. If you’re looking to match your panelling to the colour of your wall, create some contrast or add a wood-like finish, now is the perfect time to do so. If you choose to paint, start with a layer of a good primer to help the paint adhere properly and prevent any uneven absorption. After everything is dry you’ll have a beautiful new feature wall!
At Smiths Hire, we’ve been providing quality equipment and tool hire to our DIY customers nationwide for over half a century. We now have 17 depots across the North West and Yorkshire, including major cities such as Manchester, Liverpool, and Leeds! So, if you ever need assistance getting the right tools for your panelling project, feel free to ring our friendly team on 0333 323 2100; we’ll be happy to help in any way we can!

 SPEAK TO US

 My Account


