 SPEAK TO US
 My Account


Sanding a wooden floor is one of those jobs that always seems quite daunting until you actually get started. The good news is that as long as you’ve taken the time to properly prepare, including getting all the right tools and equipment, and getting the space ready, then you might be surprised at how straightforward it can be once you’re on with it. (It’s not a quick job though, so be warned – we’ll go into that in just a moment!)
At Smiths Hire, we have more than 50 years of experience in providing unrivalled tool hire services to trade and professional customers alike, so you can count on us to know exactly how to use those tools to get the best results. So if you’re looking for advice on how to sand your own floor like the pros, look no further!
What tools will I need?
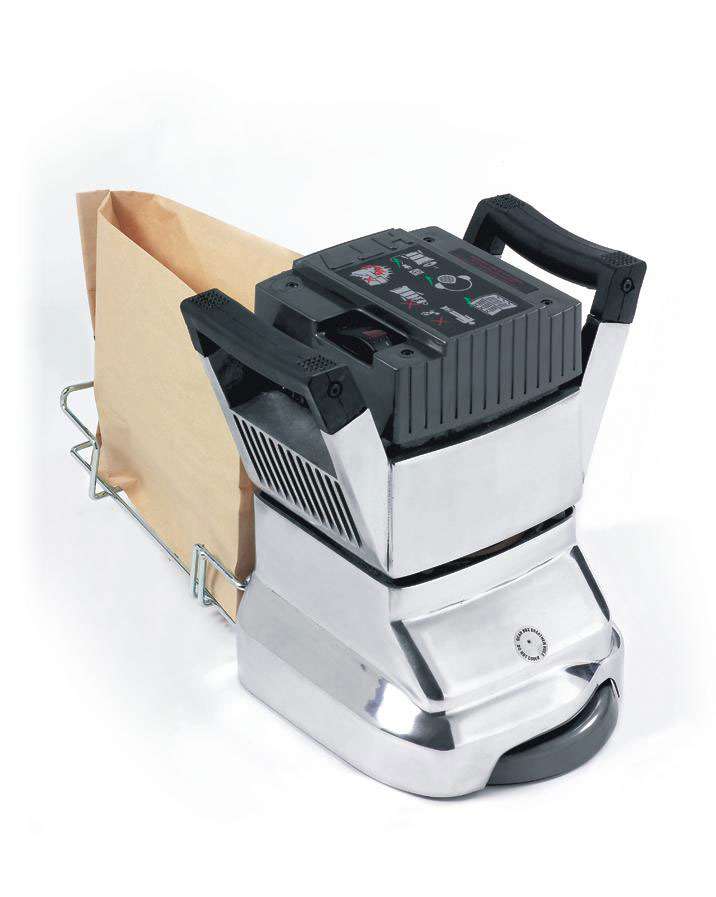
Obviously, the sander itself will be the most crucial bit of equipment you’ll need – and we’ve got no shortage of sanders to choose from amongst our range at Smiths Hire. However, you’ll also need a variety of ancillary equipment too, including that all-important PPE.
You’ll need:
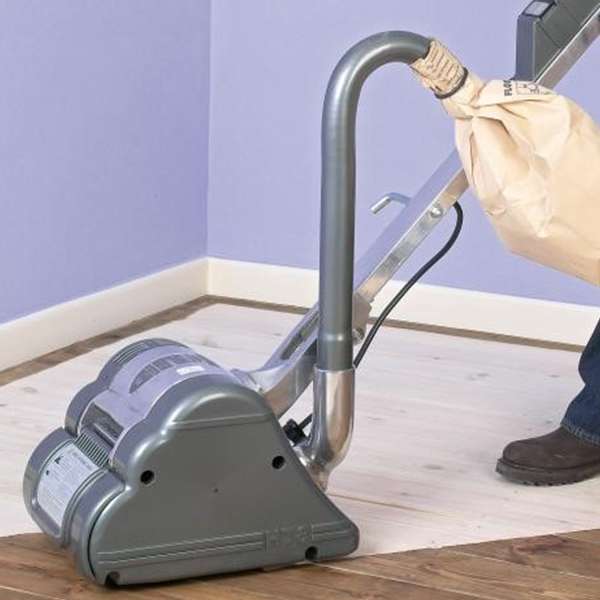
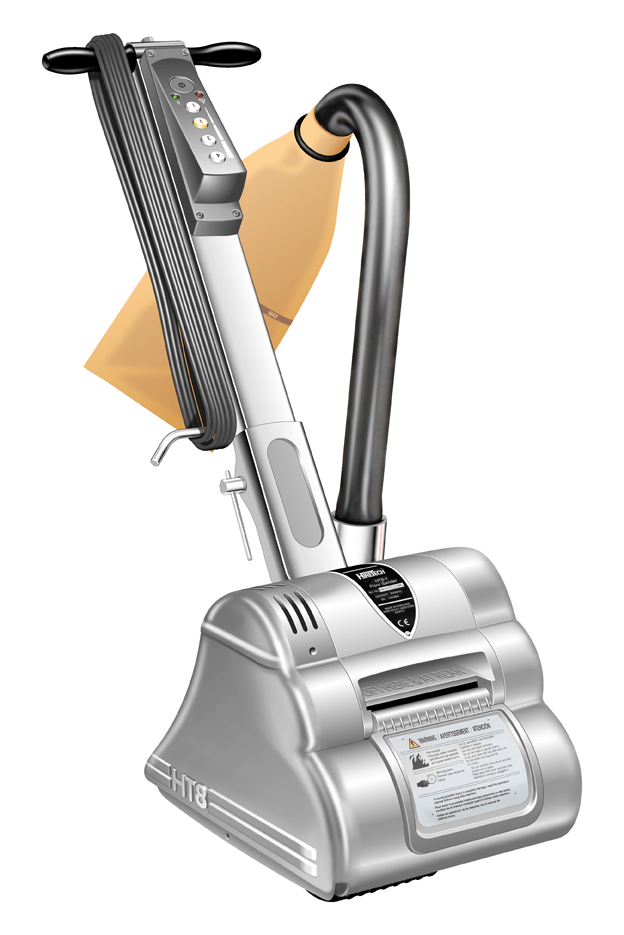
- A drum sander
- An edging sander
- Sandpaper in various grits (more detail on this in just a moment)
- Hammer
- Nail punch
- Vacuum cleaner
- Bags for sawdust
- High quality dust masks (ideally FFP2 or similar)
- Ear protection – either earmuffs or earplugs
- Suitable footwear – heavy boots are safest, if you have them
Before you start – preparing the space
As with so many other DIY jobs around the house, proper preparation of the space in advance can save you a considerable amount of time when you’re actually doing the job. So for starters, remove all floor coverings, and move the furniture to another room if you can (if not, then just the furthest edges of the room will do).
Basically, as clean and clear as you can get the surface, the easier the sanding will be. The big drum sander in particular is bulky, so you’ll want to give yourself as much room as you can to manoeuvre.
Once you’ve cleared the furniture as far as you can, take a look to see if there are any nails across your floor, especially if they’re protruding. Ideally, these should be punched down into the wood so that they’re about 2mm under the surface. Some people don’t bother with this step, but we’d very much recommend taking the time; it prevents the risk of your sander snagging on any protruding nails as you’re getting the job done. Not only is this annoying, but if it damages the sander (especially if you’ve decided to hire a sander), then it can end up being very expensive!
Finally, make sure you’ve got enough time to do it properly – you’ll probably want a weekend, or a day off from work. Even when it’s done efficiently, it’s not necessarily a quick job. You’ll be doing it for at least a couple of hours, even if only for a relatively small area. If you run out of time, you may find yourself either having to cordon off the room until you’ve had a chance to finish, or start moving the furniture back in when you know the job is only half done. Both of those scenarios are far from ideal!
Decide what sandpaper you’ll use
Using the right sandpaper (and the right amount of it) is a vital part of sanding your floor properly, so you’ll need to use careful judgement at the outset to decide exactly what you’ll need. This decision will be heavily dependent on what sort of condition your floor is in. For example has it previously been painted, or will you need to deal with carpet glue? Or is it completely clear?
The sandpaper typically used for sanding floors encompasses 16 grit, 24 grit, 40 grit, 60 grit, 80 grit and 120 grit.
As a general rule, you’ll want to start with the coarser paper (at the lower numbers) and move gradually to the finer paper, which will leave a far smoother and more professional finish for your floors. Now, if your floorboards are dirty or they already have a thin coat of paint on them, then you should generally be fine with 24 grit sandpaper. If they’re uneven or have a significant amount of paint or other residue on them on the other hand, you may well want to start with coarser 16 grit paper, and then move towards the finer finishes.
Don’t forget to switch your sandpaper regularly – and make sure you’ve got enough of it! Exactly how much you’ll need depends on the size of the area you’re covering, so it’s tricky to provide recommendations for you in this article, sight unseen.
In general though, you’re likely to need slightly more of the coarse paper than you are of the finer paper – ultimately, you’ll need to exercise your own judgement! (If you’re stuck, one of our team will always be happy to help out as much as we can.)
How to sand your flooring
OK, so you’ve got all your equipment and you’ve prepared the space – let’s get started on the sanding!
The process is essentially the same whether you’re sanding floors that have been painted, varnished, or are completely clear – you’ll be sanding the main surface of the room with the large drum sander, and around the outer edges with (you guessed it), the edging sander.
If your floorboards are a bit scuffed already, or notably uneven, then it’s generally best to start by moving the large drum sander diagonally to the floorboards. With enough decent passes, this will have the effect of noticeably evening out the floor. From here, you can then move on to sanding in the direction of the boards. Just make sure that you’re sanding with the grain of the wood!
As we’ve covered above, you’ll need to ensure that you have enough material to be able to switch the sandpaper regularly. Also, take care to ensure that the drum of the sander never stays in a single spot too long, otherwise you can end up accidentally sanding grooves into your floor.
Once you’re done, you can then vacuum up the sawdust – you may find there’s a lot more of it than you might have expected, which is why it helps to have an abundance of plastic bags on hand! You might also want to wipe the floor with white spirit to remove any fine sawdust, leaving you free to perform any final treatments on the floor, whether that’s cleaning and varnishing, oiling it, or painting it.
Those are the broad strokes (if you’ll pardon the pun!). As we’ve covered once or twice above, there are a couple of factors which will vary depending on the nature of the space you’re working with, and the tools you’ll have available. Speaking of tools, that’s exactly where we can help at Smiths Hire.
For the last 50 years, we’ve been proudly providing a huge array of tools for the trade and DIY sector for over 50 years – operating from 16 tool hire depots across the North West and Yorkshire, including several major cities like Manchester, Liverpool and Leeds. If you have any questions, or you’d like any help or advice about tool hire, don’t hesitate to call our team on 0330 822 3992. We’re here to help!