 SPEAK TO US
Sanding a wall isn’t necessarily a quick task, but if you’re planning on repainting or replastering a wall, there’s no question that it’s a necessary one. For the best final results, the surface needs to be completely smooth and level – and that’s where an electric sander comes in.
With decades years of experience behind us here at Smiths Hire, we have a wide range of electric sanders for hire, encompassing everything from orbital and disc sanders that make quick work of a large area, to more precise triangular sanders that are perfect for finishing the job with precision.
Here, we’ll lay out everything you need to get the task done quickly and easily. Before we get started though, we should say that it’s always worth double checking that the wall you’re sanding isn’t covered with lead paint, and that there is no asbestos present. Both are highly toxic materials, and could make your vulnerable to serious health risks, including chronic conditions like mesothelioma. If you’re not sure, never take the risk – it’s best to bring in professional expertise!
However, if you can be 100% sure that the job is safe to do yourself, here’s the most efficient way to get it done.
- Make sure you have everything you need
First things first – you’ll need to ensure you’ve got all the right tools and equipment, to spare you from the annoying possibility of having to pause the job halfway through to go and acquire something.
So, it’s worth having:
- A disc sander and angle sander (plus coarse-grit sanding paper and fine-grit sandpaper for each one respectively)
- A protective dust mask
- An electrical extension cord will be handy
- A cloth
- Tarpaulin or polyethylene sheeting, and masking tape
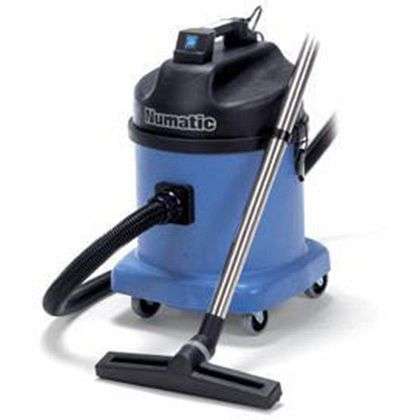
- A vacuum cleaner
Once you’re sure you’ve got everything you need, it’s time to get started on preparing the working environment. If you’ve already removed the old coating from the wall, there’s a good chance that there will be one or two cracks or holes left behind, so make sure to sort those out by applying wall filler as necessary.
As you’ll already know, the sanding process produces a lot of dust – but it’s easy to underestimate exactly how much. So, don’t forget to remove as much furniture from the room as you can, and cover up what you can’t with polyethylene covers. Laying tarps on the floor is a good way to protect the flooring too, before securing it all with masking tape.
Finally, make sure to mask up to protect yourself from dust before you finally fire up the electric sander.
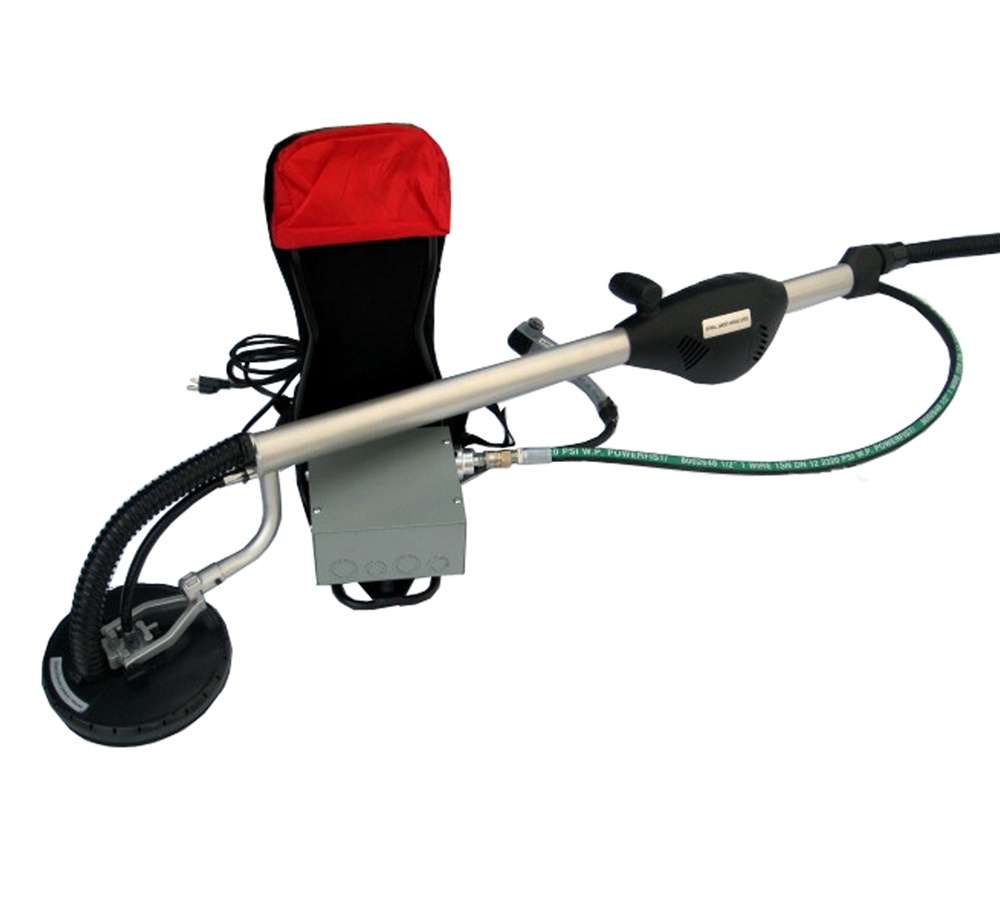
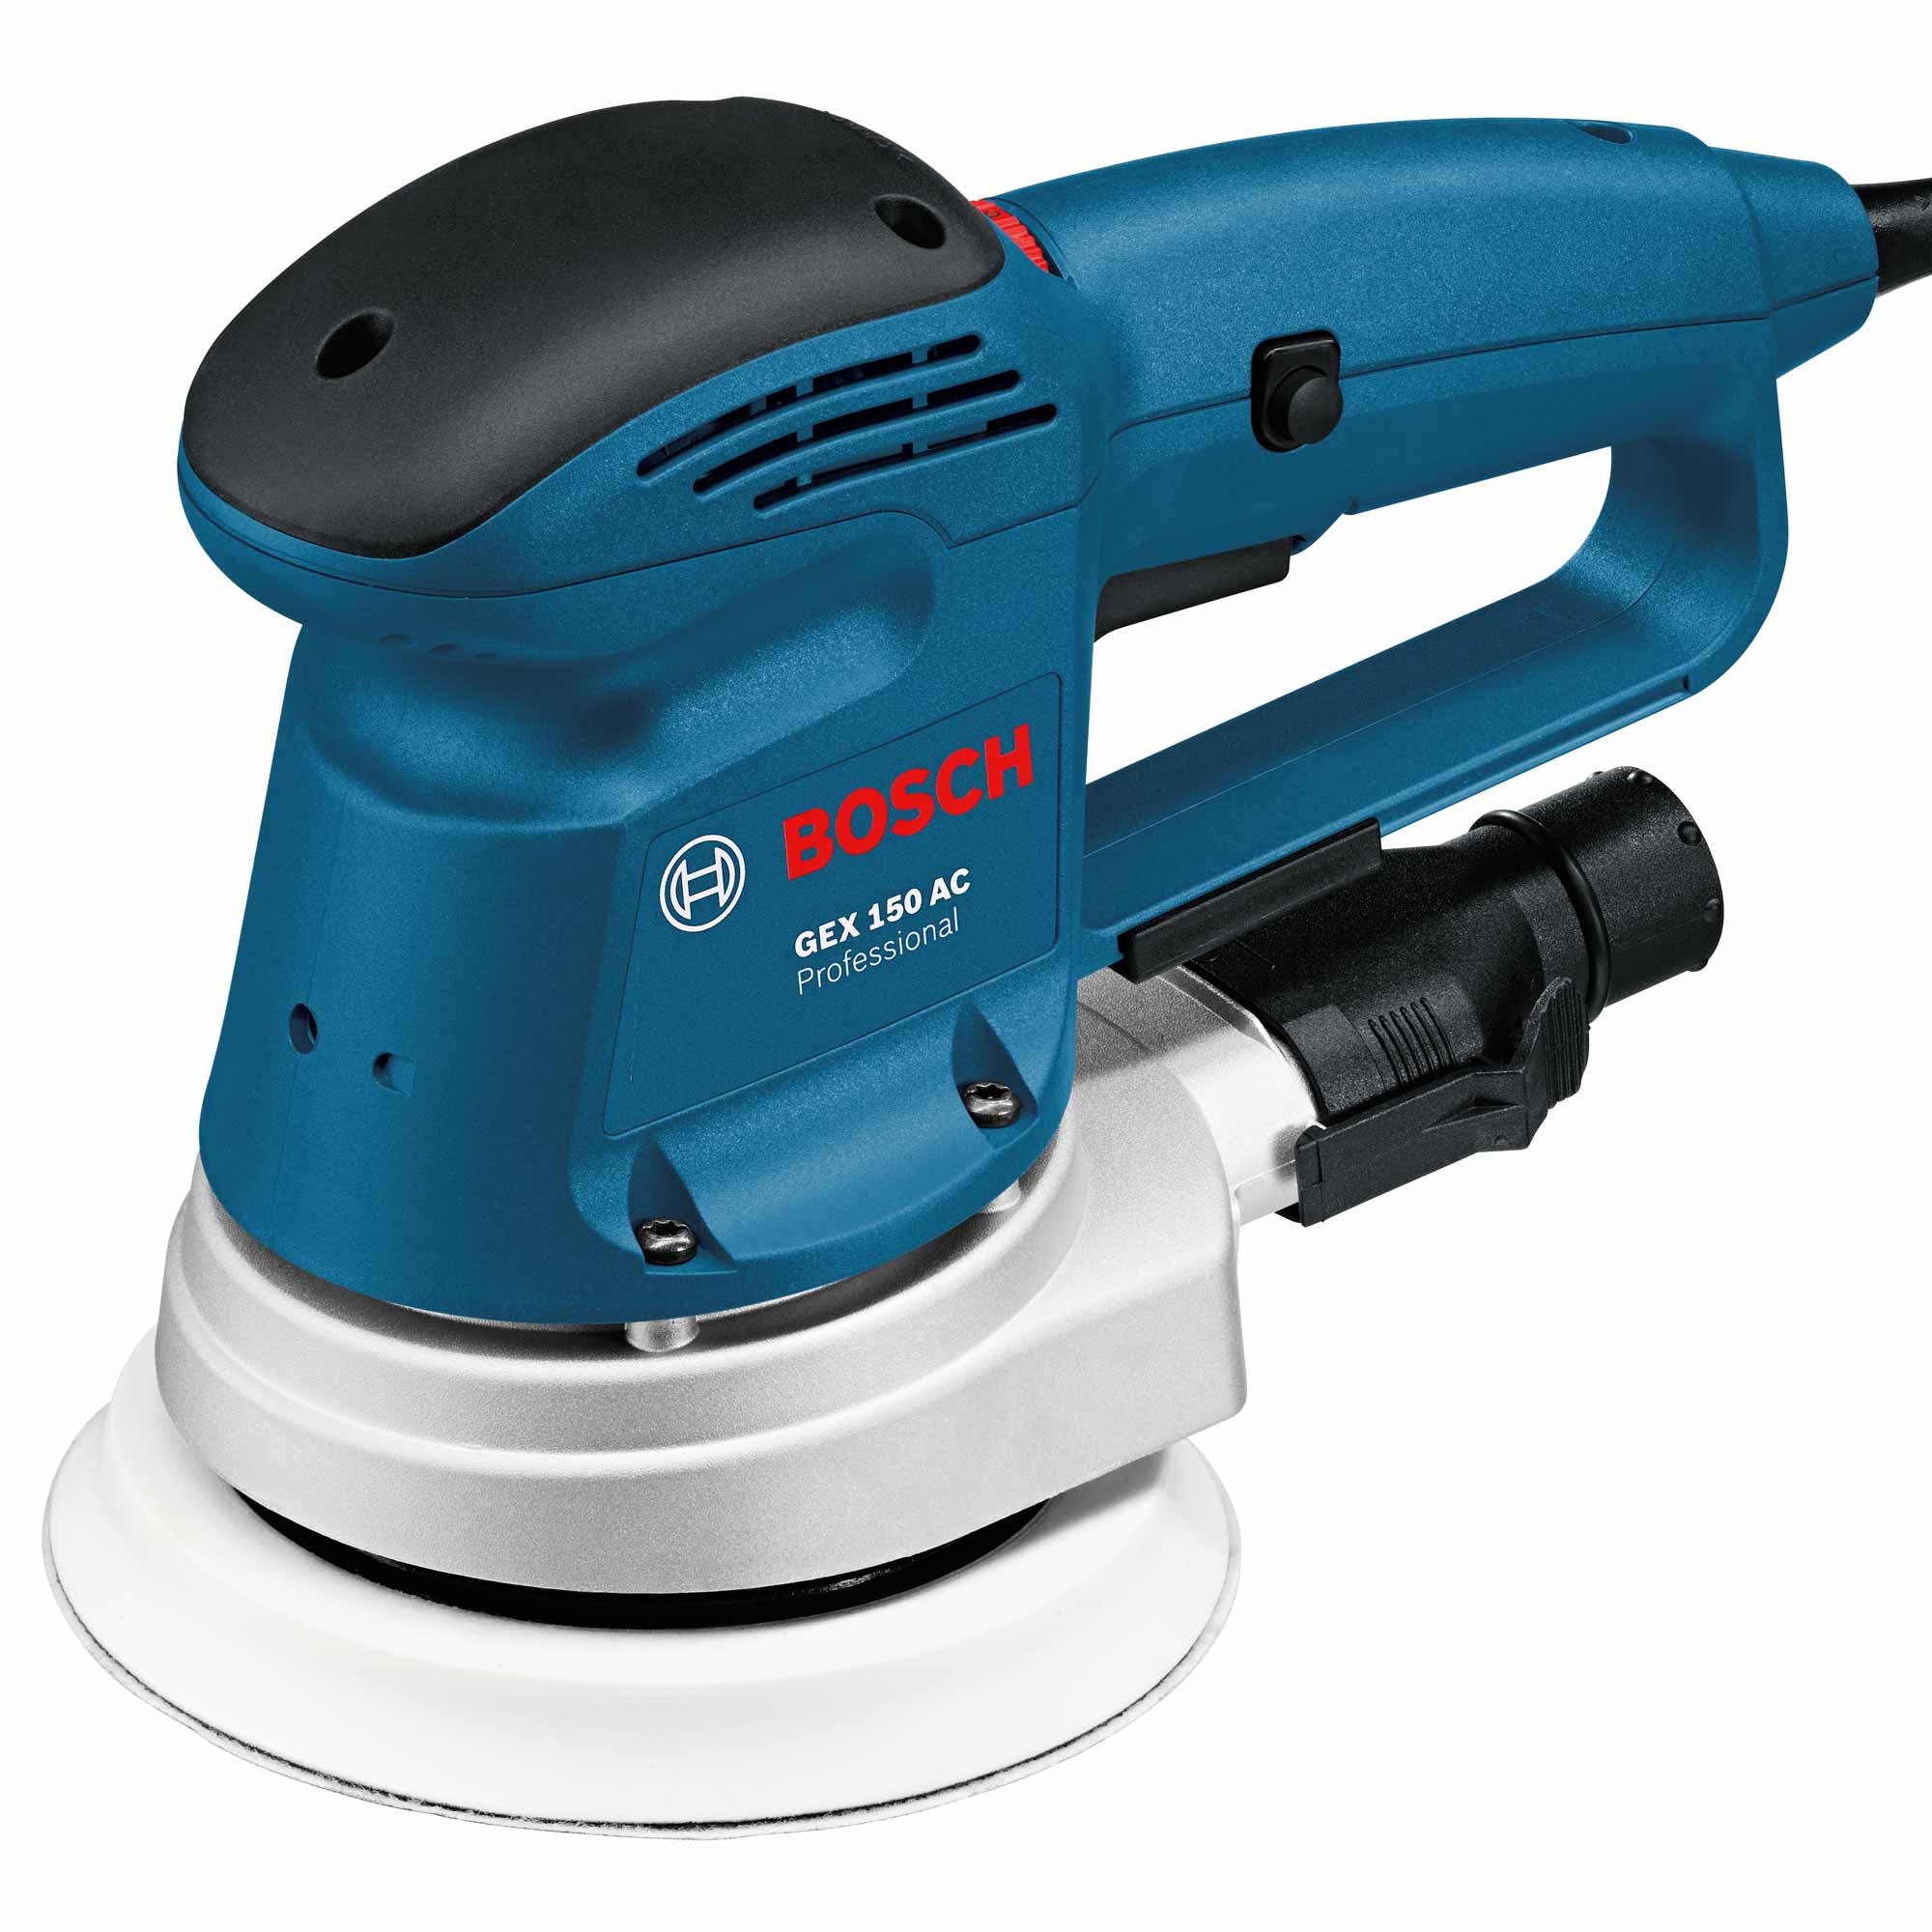
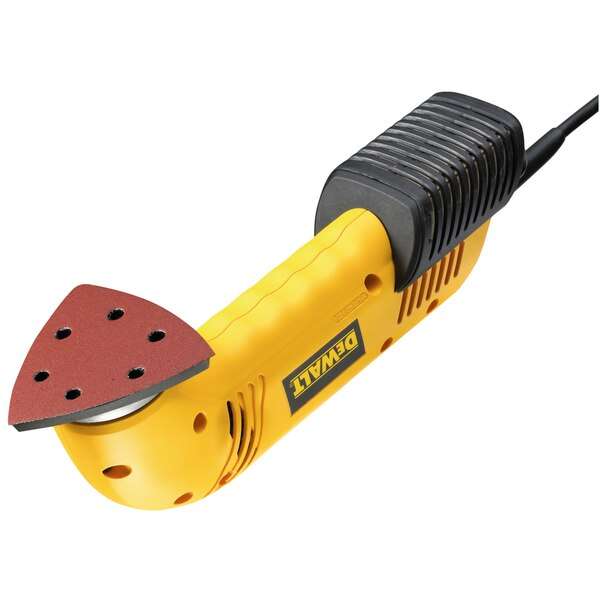
- Use a disc sander for the first rough sanding
For the first sanding application, lots of people like to use a disc sander, as they can be the best option for efficiently covering large sections of wall – but you can also use an angle sander if you’d like. They’re equipped with self-gripping shoes, designed to make it easier to change out the sanding paper.
Make sure that you’ve carefully chosen the type of sandpaper that suits the condition of the wall. You’ll want to use medium grit sandpaper if the wall has sandpaper paste residue, but for tiled walls it’s best to use coarse-grit sandpaper instead.
You’ll probably find it easiest to start with the upper parts of the ceiling, and work your way down to the baseboards, using the sander in sweeping circular motions. When you get to the corners of the walls on the other hand, you’ll need to switch to the triangular sander.
- Switch sandpaper to finish with fine sanding
Once you’ve finished the first sanding application, you’re then ready to replace the coarse sandpaper with finer sandpaper, and then repeat the process – resulting in a completely smooth finish that’s then ready for whatever you’ve got planned for it. If the walls you’re working on are made of plaster though, make sure not to stay too long in the same place – plaster is a relatively soft material, so if you’re not careful, you could end up creating permanent level differences in the wall.
As soon as you’re finished, the only thing left to do is remove the dust from the floor with a vacuum cleaner, preventing it from hanging around after you’ve finished and attaching itself to your walls or furniture. Then simply wipe the partition with a dry cloth. After that, you’re ready to apply the plaster or coating to your wall!
Now, we should say that this is just a general guide, and you may find you have to take a couple of additional steps or safety measures depending on your environment, and how long you’ve got to do the job. We’ll leave those specifics to your best judgement!
When it comes to tools though, that’s exactly where we can help here at Smiths Hire. We’ve been providing quality equipment and tool hire services to the DIY and trade sectors for over 50 years – operating from 16 tool hire depots across the North West and Yorkshire, including several major cities like Manchester, Liverpool and Leeds. If you have any questions, or you’d like any help or advice, don’t hesitate to call our team on 0333 323 2100! We’re here to help!