If you’ve got a green thumb and you enjoy growing your own plants, then you’ve probably at least considered the idea of raised beds. Raised beds are exactly what they sound like: growing plots that sit above ground, unlike traditional growing beds, which are sown directly into your garden soil. There are a variety of benefits associated with raised garden beds, including everything from better soil quality to drainage, pest control and beyond. Aside from that, though, they also really help elevate the visual appearance of your outdoor space.
So, whether you’re an avid planter, a DIY enthusiast, or you’re just looking to add a bit more visual structure to your outdoor space this summer, here’s how you can build your very own raised garden beds with our tool hire services!
Raised bed considerations
First things first, give your plants the best chance of thriving by choosing a nice sunny location for your beds. Ideally, somewhere that’s going to get at least six or so hours of solid sunshine a day (weather permitting, of course). Then, you’re going to need to decide on a few things, like how many planters you’re going to build and how tall, long and wide you’d like them to be, as these factors will affect the amount of material you’ll need and the result for your planters.
Choose your wood type
For the type of wood you choose, it’s entirely up to you, if you choose to go with hardwood, you’re going to find that it is more expensive, but on the other hand it will last much longer. If you’re looking for a more cost-effective alternative, treated softwood works a treat! It goes without saying that it won’t last as long as hardwood, but that doesn’t mean you aren’t going to get years of use out of it.
Choose your size
If you don’t have a size in mind and you have space to use, a popular size for raised garden beds is 4 feet wide by 8 feet long, which allows you to reach the centre from either side without having to step into the bed to tend to it. As for the height, typically, most beds are in the 12 to 18 inches range, which is ideal for most plants. But you can definitely make it taller if you wish by stacking more than one plank of wood on top of your initial piece!
We’re only going to provide the instructions for one raised bed; however, if you want to build multiple, you can just take these steps and double, triple or even quadruple them. Let’s get started!
Here’s what you’re going to need:
(This is a fairly simple DIY as far as construction goes, so it’s great for beginners)
- 2 long wooden planks in your chosen length (8ft if you’re following our example)
- 2 short wooden planks in your chosen length (4ft if you’re following our example)
- 4 4×4 wooden corner posts
- Material for the base to cover the clear space inside your planter
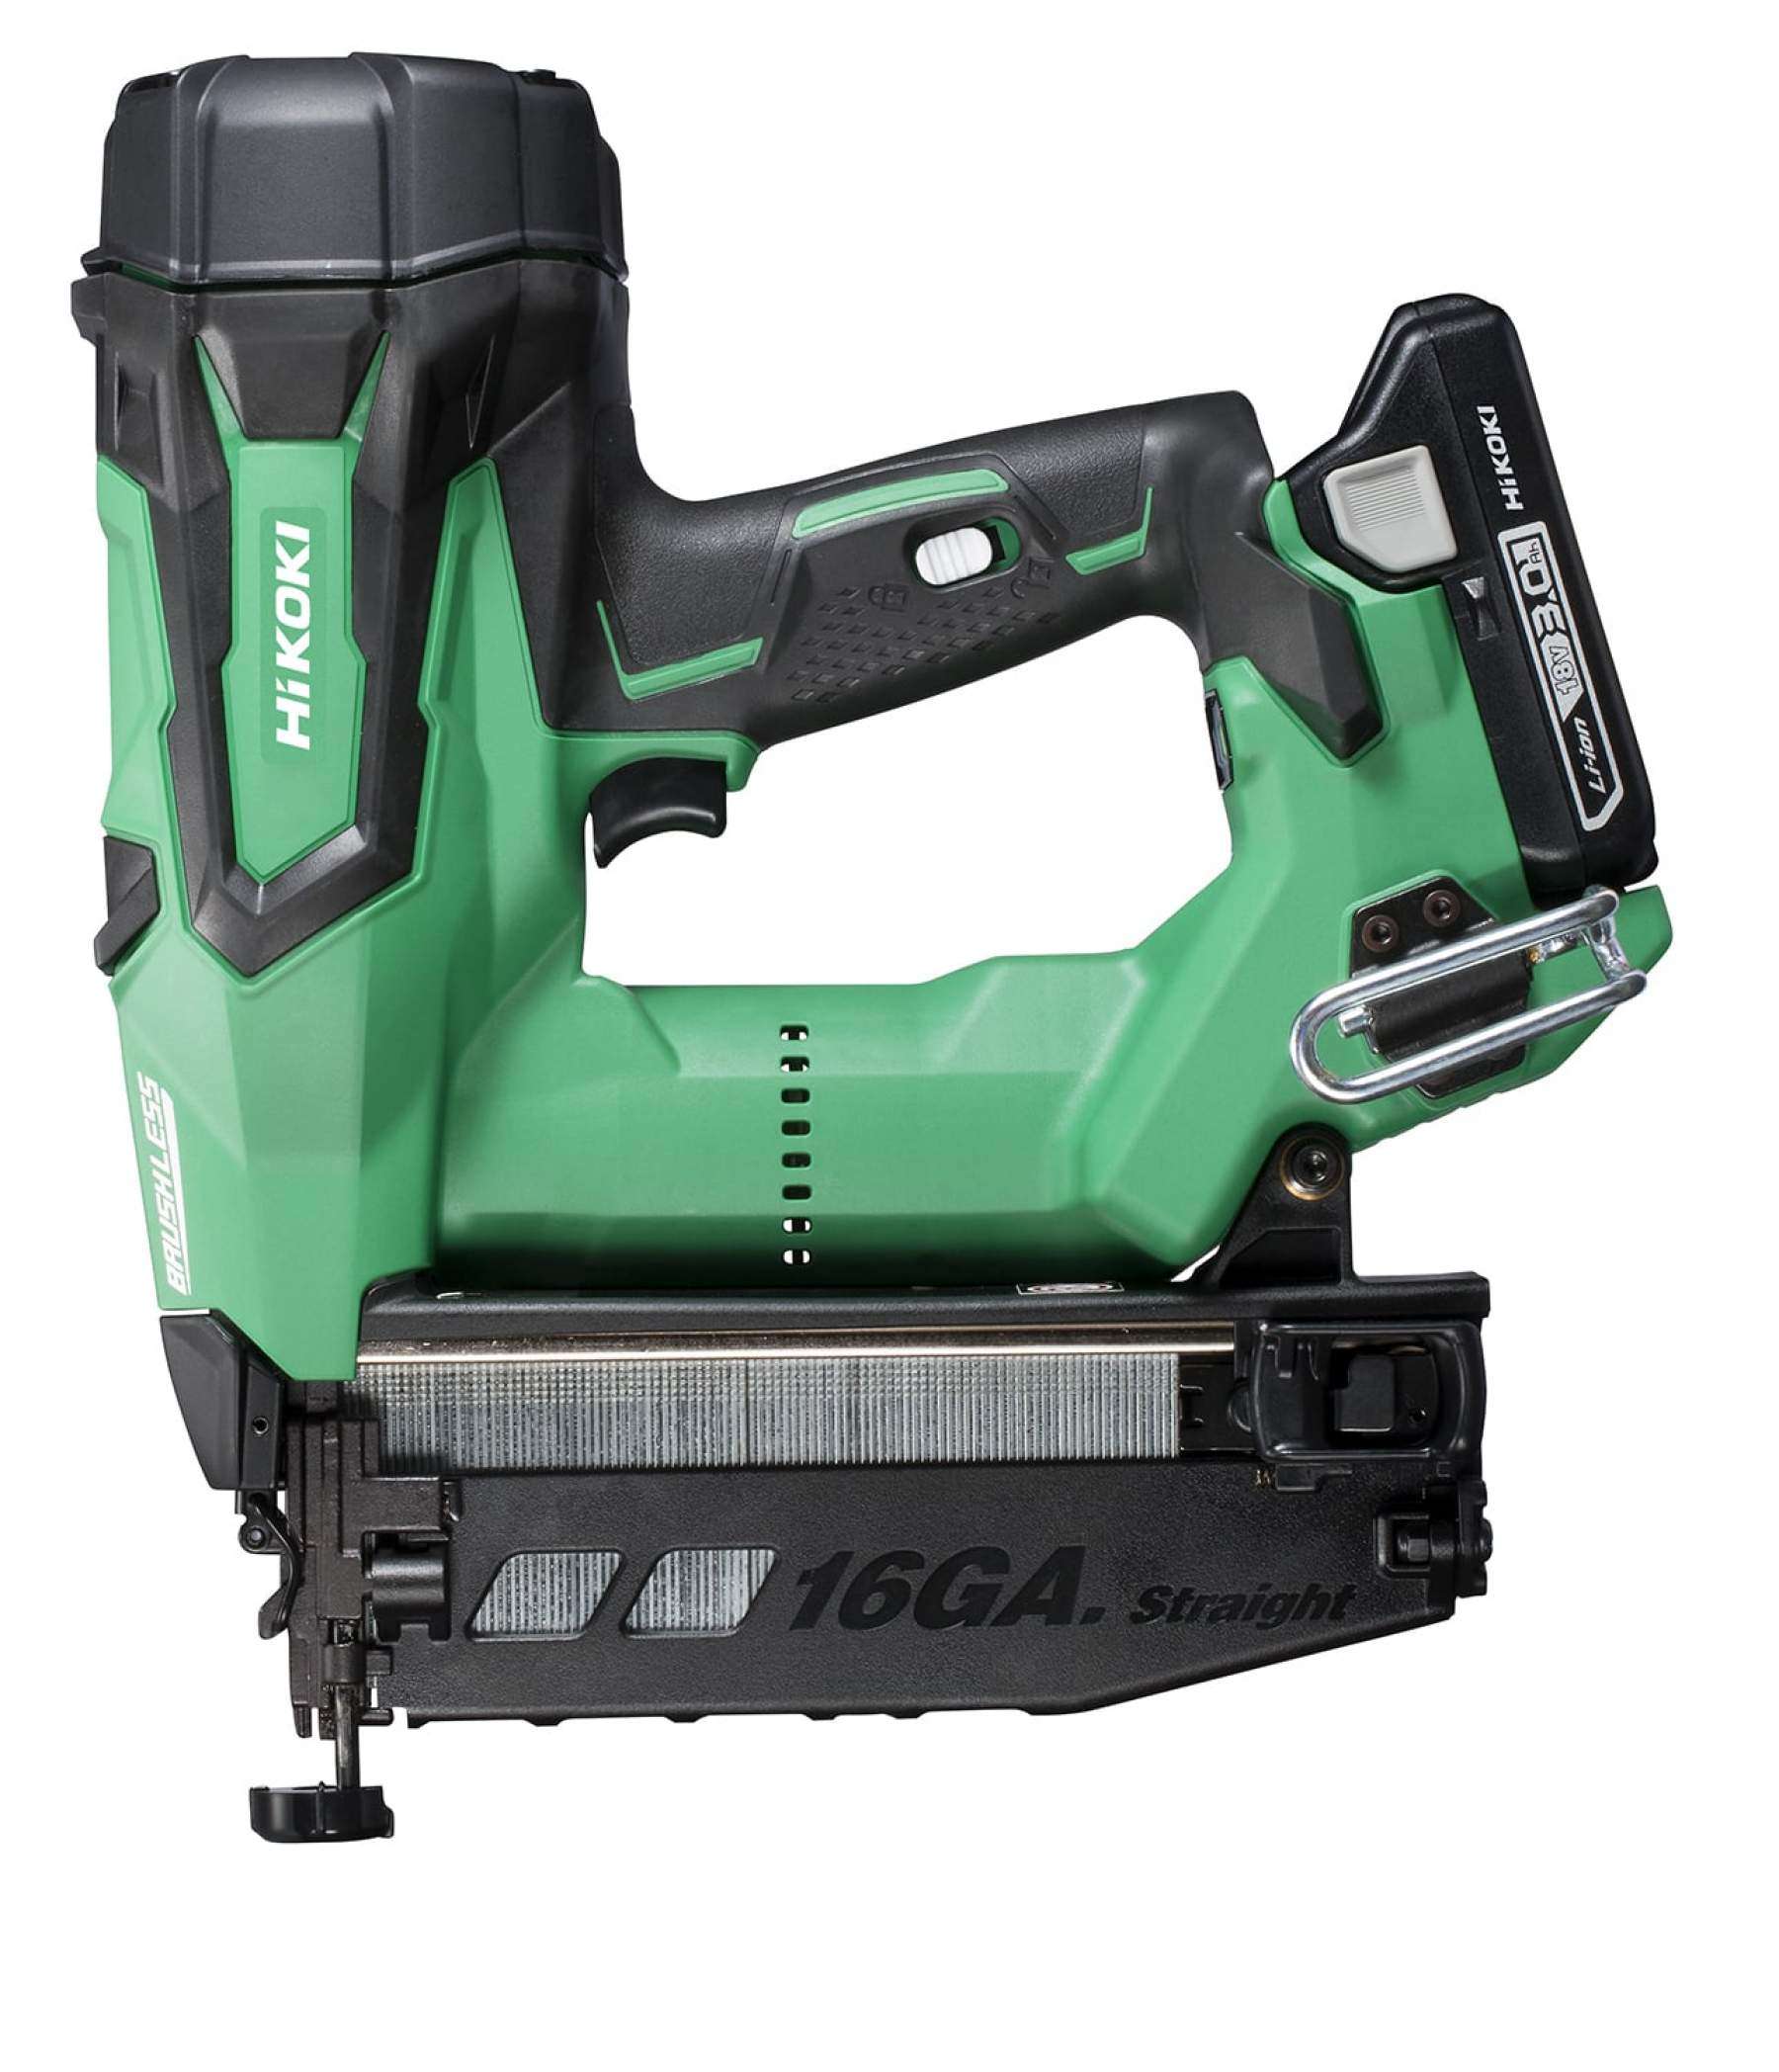
- Nail gun
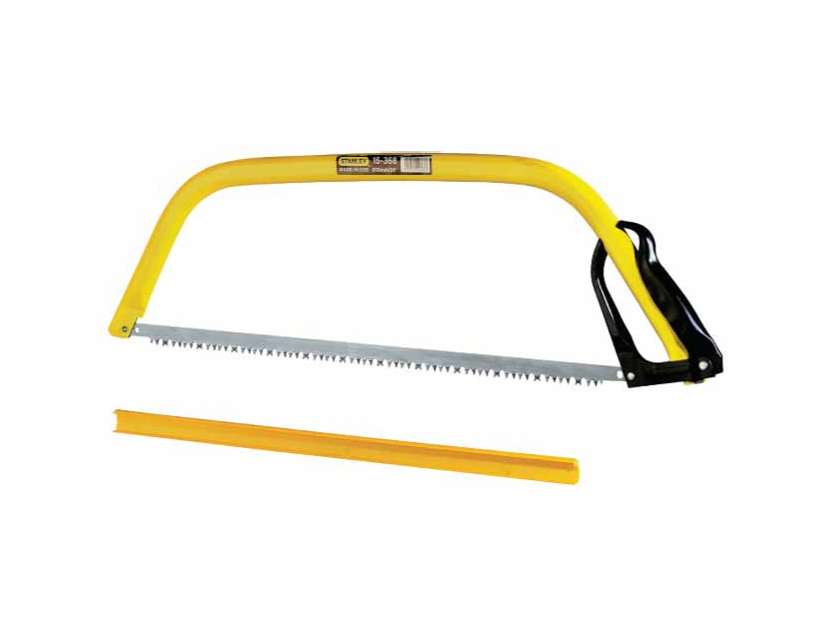
- Bow saw (optional)
- Spirit level
- Nails (25mm – 65mm)
- Corner support brackets x 4
Step 1: Prepare the ground
Before you start assembling your raised bed, it’s important to prepare the ground where your planter will be placed.
So, start by cleaning the area of any weeds, rocks, or debris and levelling the ground as much as possible to ensure your bed sits evenly. You can do this a day or so in advance; just don’t leave it too long, or else those weeds will start to creep back into your space. If you’re placing your bed on grass or soil, it’s best to lay down a layer of weed barrier fabric to prevent weeds from growing up into your planter and allow proper drainage.
Step 2: Assemble your frame
Arrange your wooden planks into a rectangle, with the longer planks forming the sides and the shorter planks forming the ends. Once your frame is laid out, decide how tall you want your raised bed to be. If you’re looking for a deeper bed, you can stack multiple planks on top of each other to increase the height.
Once you’ve settled on the height, you can start nailing the planks to the 4×4 corner posts at each corner of the bed with the nail gun. It’s best to start with your longer sides first before contacting everything together with your short sides.

For extra sturdiness, use corner support brackets to secure the corners so they’re square and flush. A spirit level will come in handy here to make sure everything is even so your raised bed sits level without tilting to one side. If you have excess post length sticking up after you’ve decided on the height of your bed, you can either extend them to above the top for a decorative touch or trim them down to be flush with the sides with a bow saw—whichever suits your style!

Step 3: Start filling your beds
Once your base is built, you can pop it into place and begin filling it with soil to plant with, and that’s all there really is to it! If you’re placing your raised bed on a surface you’d like to keep protected, like your patio, it is best to put a surface down to protect the ground. If not, then you can proceed without one.
This is a great DIY to do on a sunny day; a raised bed would even make a great gift for the gardener in your life. And if you need tools to get the job done, we’re ready and waiting to hear from you!
With a legacy of over half a century, we’re the go-to destination for quality equipment and tool hire for both DIY enthusiasts and tradespeople. Our 17 depots are strategically located in the North West and Yorkshire, including major cities like Manchester, Liverpool, and Leeds. For any assistance, our friendly team is just a call away at 0333 323 2100. Trust our experts to guide you through your project!

 SPEAK TO US

 My Account


