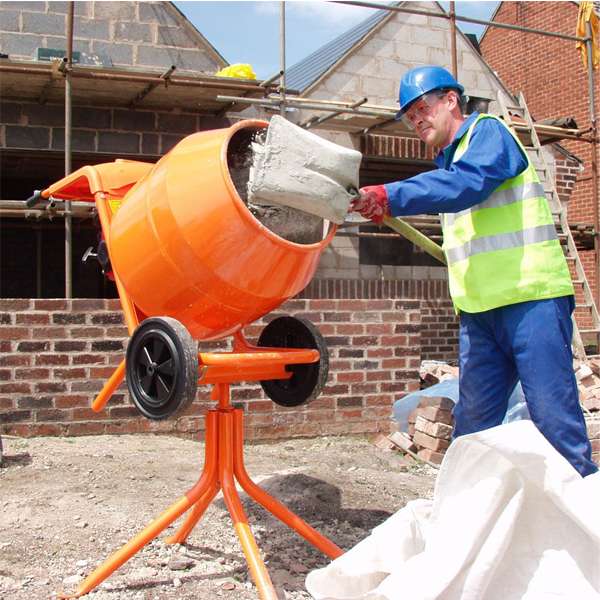
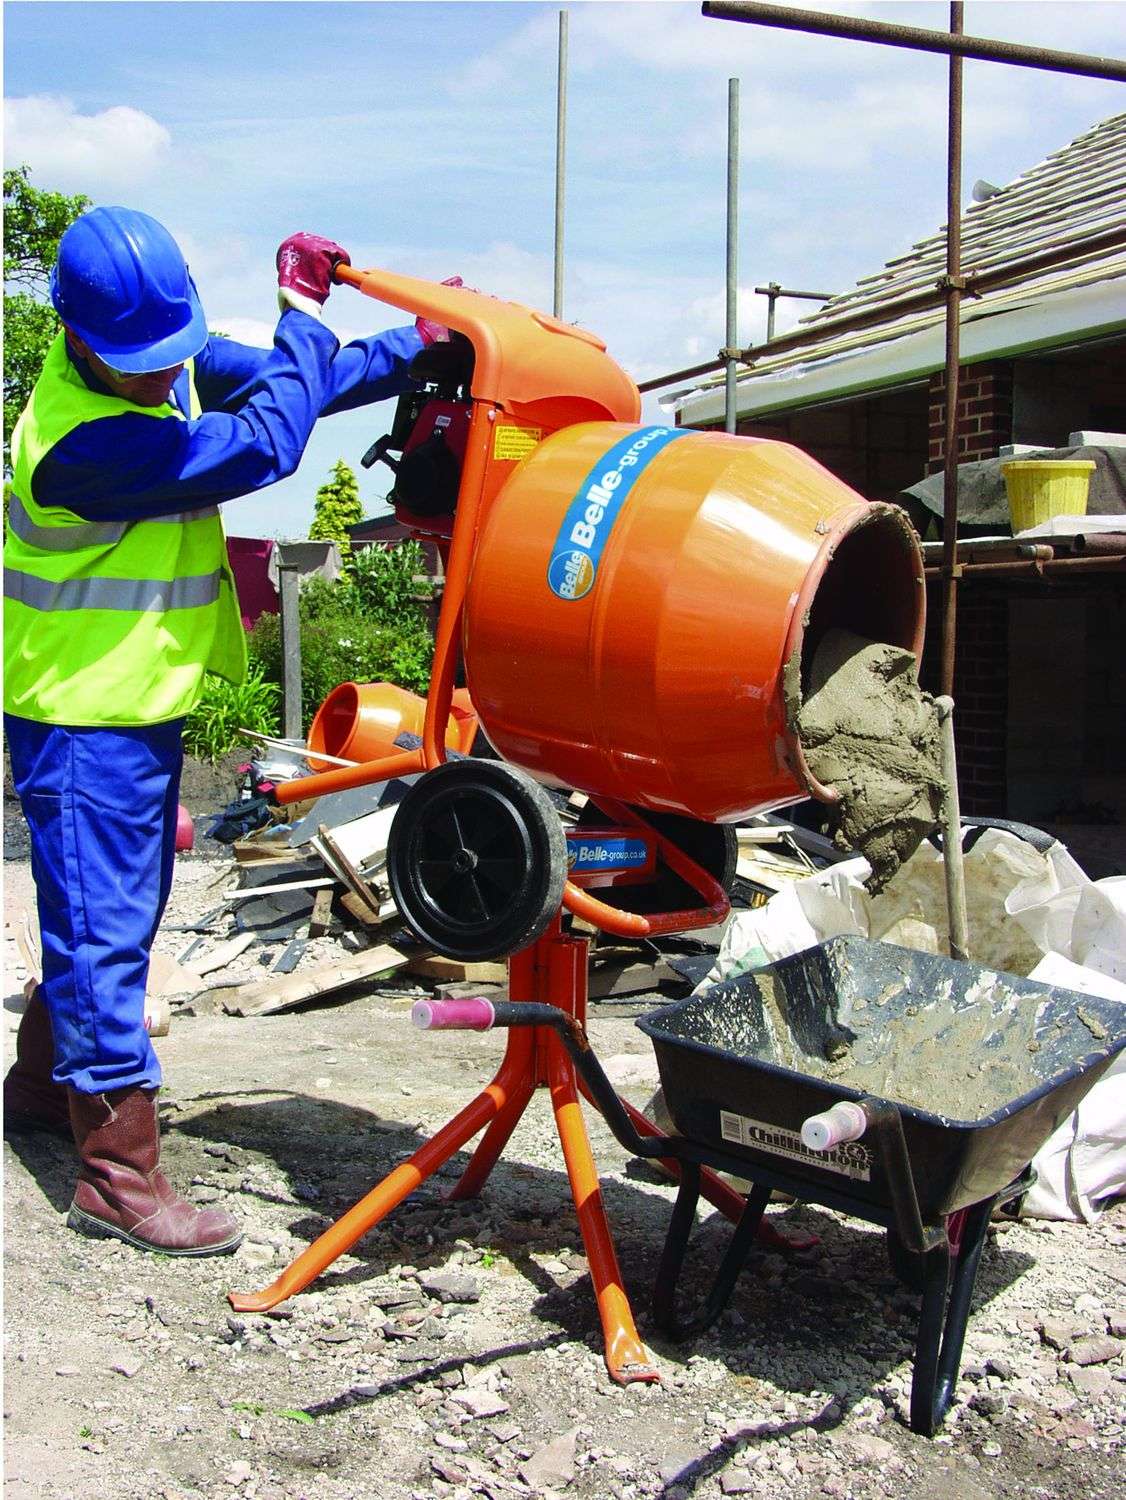
Cement mixers are important tools for any construction site. However, to keep them functioning at maximum capacity, they require a regular cleaning routine that keeps them spick and span. Proper maintenance will maximise the lifespan of your cement mixer, and protect it from sustaining any unnecessary damage from premature wear and tear.
So, if you’ve got a cement mixer on site or at home that needs a good clean, or you’re planning to rent a cement mixer through our reliable tool hire service here at Smiths Hire, then here’s the essentials of what you need to know about cement mixer maintenance, so you can get your job done without any setbacks.
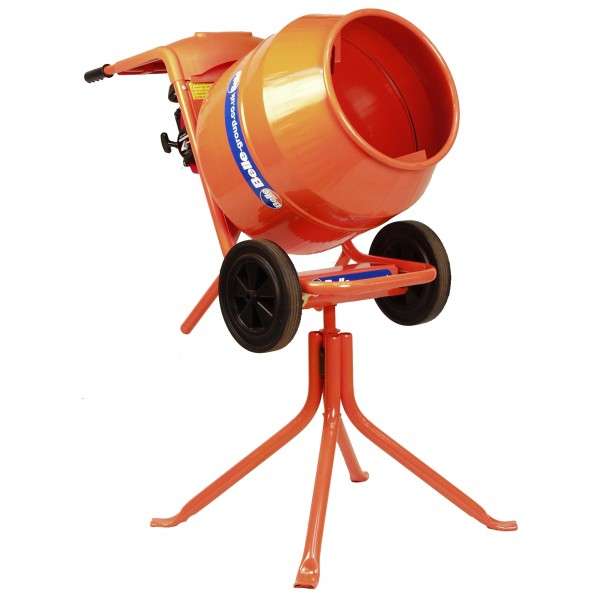
How to stop cement sticking to the mixer
One of the questions we get asked all the time is: how do you keep cement from sticking to a mixer? It’s a great question! Thankfully, it’s a fairly simple process. Start by measuring out your materials to make sure you have the correct ratios of everything, including sand, cement and water (and anything else you require). The correct amount of each will vary depending on the project that you’re working on.
Once you’ve set up your cement mixer and turned it on, it’s time to add the materials to the drum, starting with the water. To keep the cement mixture from sticking to the drum, you can put in a small amount of gravel or aggregate. This will keep all the materials moving and help free them from the sides of the drum. Then you can go ahead and continue to add the rest of your components in the amounts corresponding to your project.
It’s important to have the right consistency when mixing concrete or cement. If it’s too dry it will stick to the drum while spinning and be difficult to work with. This is also true for cement that is too wet. A good sign that your mixture is too wet is if it doesn’t rise and fall with the 360-degree spin cycle. An ideal consistency for cement is one that rises around halfway up the sides of the drum before falling back down. Cement that is too wet or too dry can make your mixer harder to clean if left to solidify.
How to clean wet cement from your cement mixer
The best time to clean your cement mixer is while the cement is still wet. Wet cement is much easier to shift than dry cement, for obvious reasons, and it will be a much quicker job (which is exactly what you want after a hard day’s graft, right?).
Now, another question we hear a lot from our customers is: should you grease a cement mixer? And the answer to that is most often, no. Unless you’re using specific grease made for the job, you’ll risk altering your cement mixture and affecting the way it dries or holds up – and nobody wants that! So the best advice is to steer clear if you aren’t sure and just stick to giving it a good clean after every use.
So, to clean out wet cement from your mixer, here’s what you’ll need:
- A pressure washer
- Some aggregate/gravel
- Safety glasses
Once you’ve gathered all of your tools, it’s time to crack on. Start by filling up the drum with a decent amount of water – not so much that it’s over flowing, but a generous amount to get the job done. Then add in a couple of shovels of gravel or aggregate to help scrape down the sides of the drum. If you find the water and gravel mix is having a hard time reaching every part of the mixer, just give it a gentle tilt to help it along the edges. When you’re happy with the result, drain the water and gravel from the drum. After that, you can go in and give it a quick once over with the pressure washer, just to blast out any cement that may still be hiding in there. And that’s a job done!
How to clean dry cement from your cement mixer
Now, if you’re reading this because you’re already in the situation where the cement has hardened in the drum and you’re trying to remove it – don’t worry. Here’s what you’re going to need to sort it out:
- A pressure washer
- Some aggregate/gravel
- Rubber mallet
- Safety glasses and gloves
- Concrete/mortar dissolver or remover
- Optionally: a chisel and bristle brush
The first few steps are the same as cleaning off wet cement. Fill the drum with a generous amount of water and then add in the gravel. However, while it’s spinning, now you’re going to start tapping the drum with the rubber mallet. This will loosen and encourage the dry cement to fall off in manageable chunks. If there are some stubborn chunks that don’t want to budge, you can take a chisel and give them a helping hand – but gently, of course (and while the mixer is turned off!). If you’re going to do this, it’s important to first put on your safety glasses!
Once you have all the largest parts removed, if it’s clear the rest isn’t coming off without a fight, it’s time to gear up. Stick on some gloves and grab your chosen concrete remover. Drain the water and cement chunks out of the drum and coat the inside with your chosen concrete dissolver/remover, making sure to tilt the mixer so that it reaches all the edges, nooks and crannies. Let it sit for the given time and then rinse with a pressure washer. This will clear up any chemical residue that’s lingering and the lasting bits of cements. You can even give it a scrub with a bristle brush for good measure. Let the mixer dry again before storing it away, and that’s all there is to it!
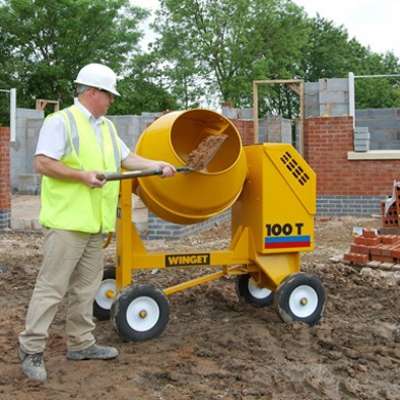
If you’re looking for a cement mixer for the construction site or your next DIY project, our concrete and cement mixer hire range has everything you need to get the job done! We can offer you a reliable range of options from petrol and diesel cement mixers, to fully electric variants ideal for those looking to minimise their emissions.
At Smiths Hire we’ve been supplying quality equipment and tool hire services to the DIY and trade sectors for more than 50 years, from 16 tool hire depots across the North West and Yorkshire, including several major cities like Manchester, Liverpool and Leeds. If you have any questions, feel free to give our team a call on 0333 323 2100. We’re here to help!

 SPEAK TO US

